28 July 2022

How to Take Your Own Baby Photos At Home

 Anyone can create great baby photos at home, rather than having to splurge on expensive professional photo shoots in those early days. It only takes a few simple steps to set up and you can start snapping away in no time, hopefully creating baby photos at home that you love.

Baby Photos at home

In our family, I am usually the one behind the camera, snapping away and capturing the moments. And as much as I love photography, I am in no way a great photographer. Sure I manage some great shots at times and impress even myself, but there is one area of photography that I seem to do well, when I take the time to set up properly.

When my first daughter Lily was born, we paid for a photo shoot when she was around a month old, as well as another family photo shoot when she was a few months old. I wasn't overly happy with either. For the newborn shoot, the biggest issue was the black backdrop, which to me doesn't really suit a baby photo shoot.

Upon launching my own handmade headband and kids clothing business a few months after Lily arrived, I had to learn really quick how to take good product shots. They weren't all great but I was making progress, with some simple backdrop techniques and staging my products.

But this sort of product sells better with a model, and so began my baby photos at home. Some of my favourite photos of Lily have been in the attempt to take product photos, and from there I just got into the habit of taking regular baby photos at home every few months and for special events.

Baby Photos at home

TIPS FOR TAKING YOUR OWN BABY PHOTOS AT HOME

With the arrival of our new daughter, the camera has been busy and there have been a few sessions of baby photos at home and sibling sessions too. So I thought I would share some of my tips.

Utilise the Space You Have

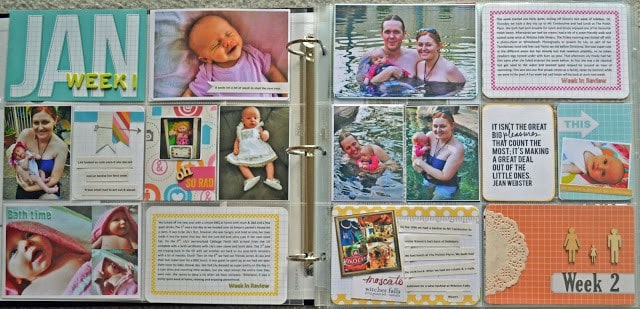
Most of us don't have photo studio set ups at home so we have to work with what we have. Utilise a lounge room or a bedroom if that's what you have. My  most recent photos have been created using our king size bed with a white sheet on, with pillows built up behind to create an overall white space. 

Baby Photos at home

Aim for Natural Light

Having an area with natural soft light spilling in, rather than artificial light or extreme direct sunlight will be your best tool. You will be amazed what a difference it makes having natural light when shooting baby photos at home.

Clear the Clutter

Make sure you remove any distracting items from your background before you start. This is one of my worst habits when snapping candidly, but it makes a huge difference when taking baby photos at home.

Create a Backdrop

For me this has mostly been a couch with tablecloths draped over it and onto the floor. It creates a distraction free background for the photographs and can be changed to suit the colours and theme you want for your photos. Neutral backdrops are perfect.

Baby Photos at home

Happy Baby

Aim to do your baby photography when your baby is in a good mood. Just after a feed or a sleep is best, so they are neither tired or hungry. If they fall asleep during your shoot, that works too. Although I've never been this lucky. For older babies, it can also help to have someone else in the background to get their attention and make them smile because they often become distracted by the big chunky camera pointing at them.

Editing

No matter how great your baby photos at home turn out, chances are they will be even better with a few slight edits on a photo editing software. Personally I use PhotoShop Elements, but there are plenty of other tools available such as Lightroom or free software like Pic Monkey. The main edits I do are to brighten and add a soft light look like you see in professional baby photography.

Baby Photo Ideas

Below are some baby photo ideas from my own baby photos at home sessions with my two daughters.

Baby Photos at home

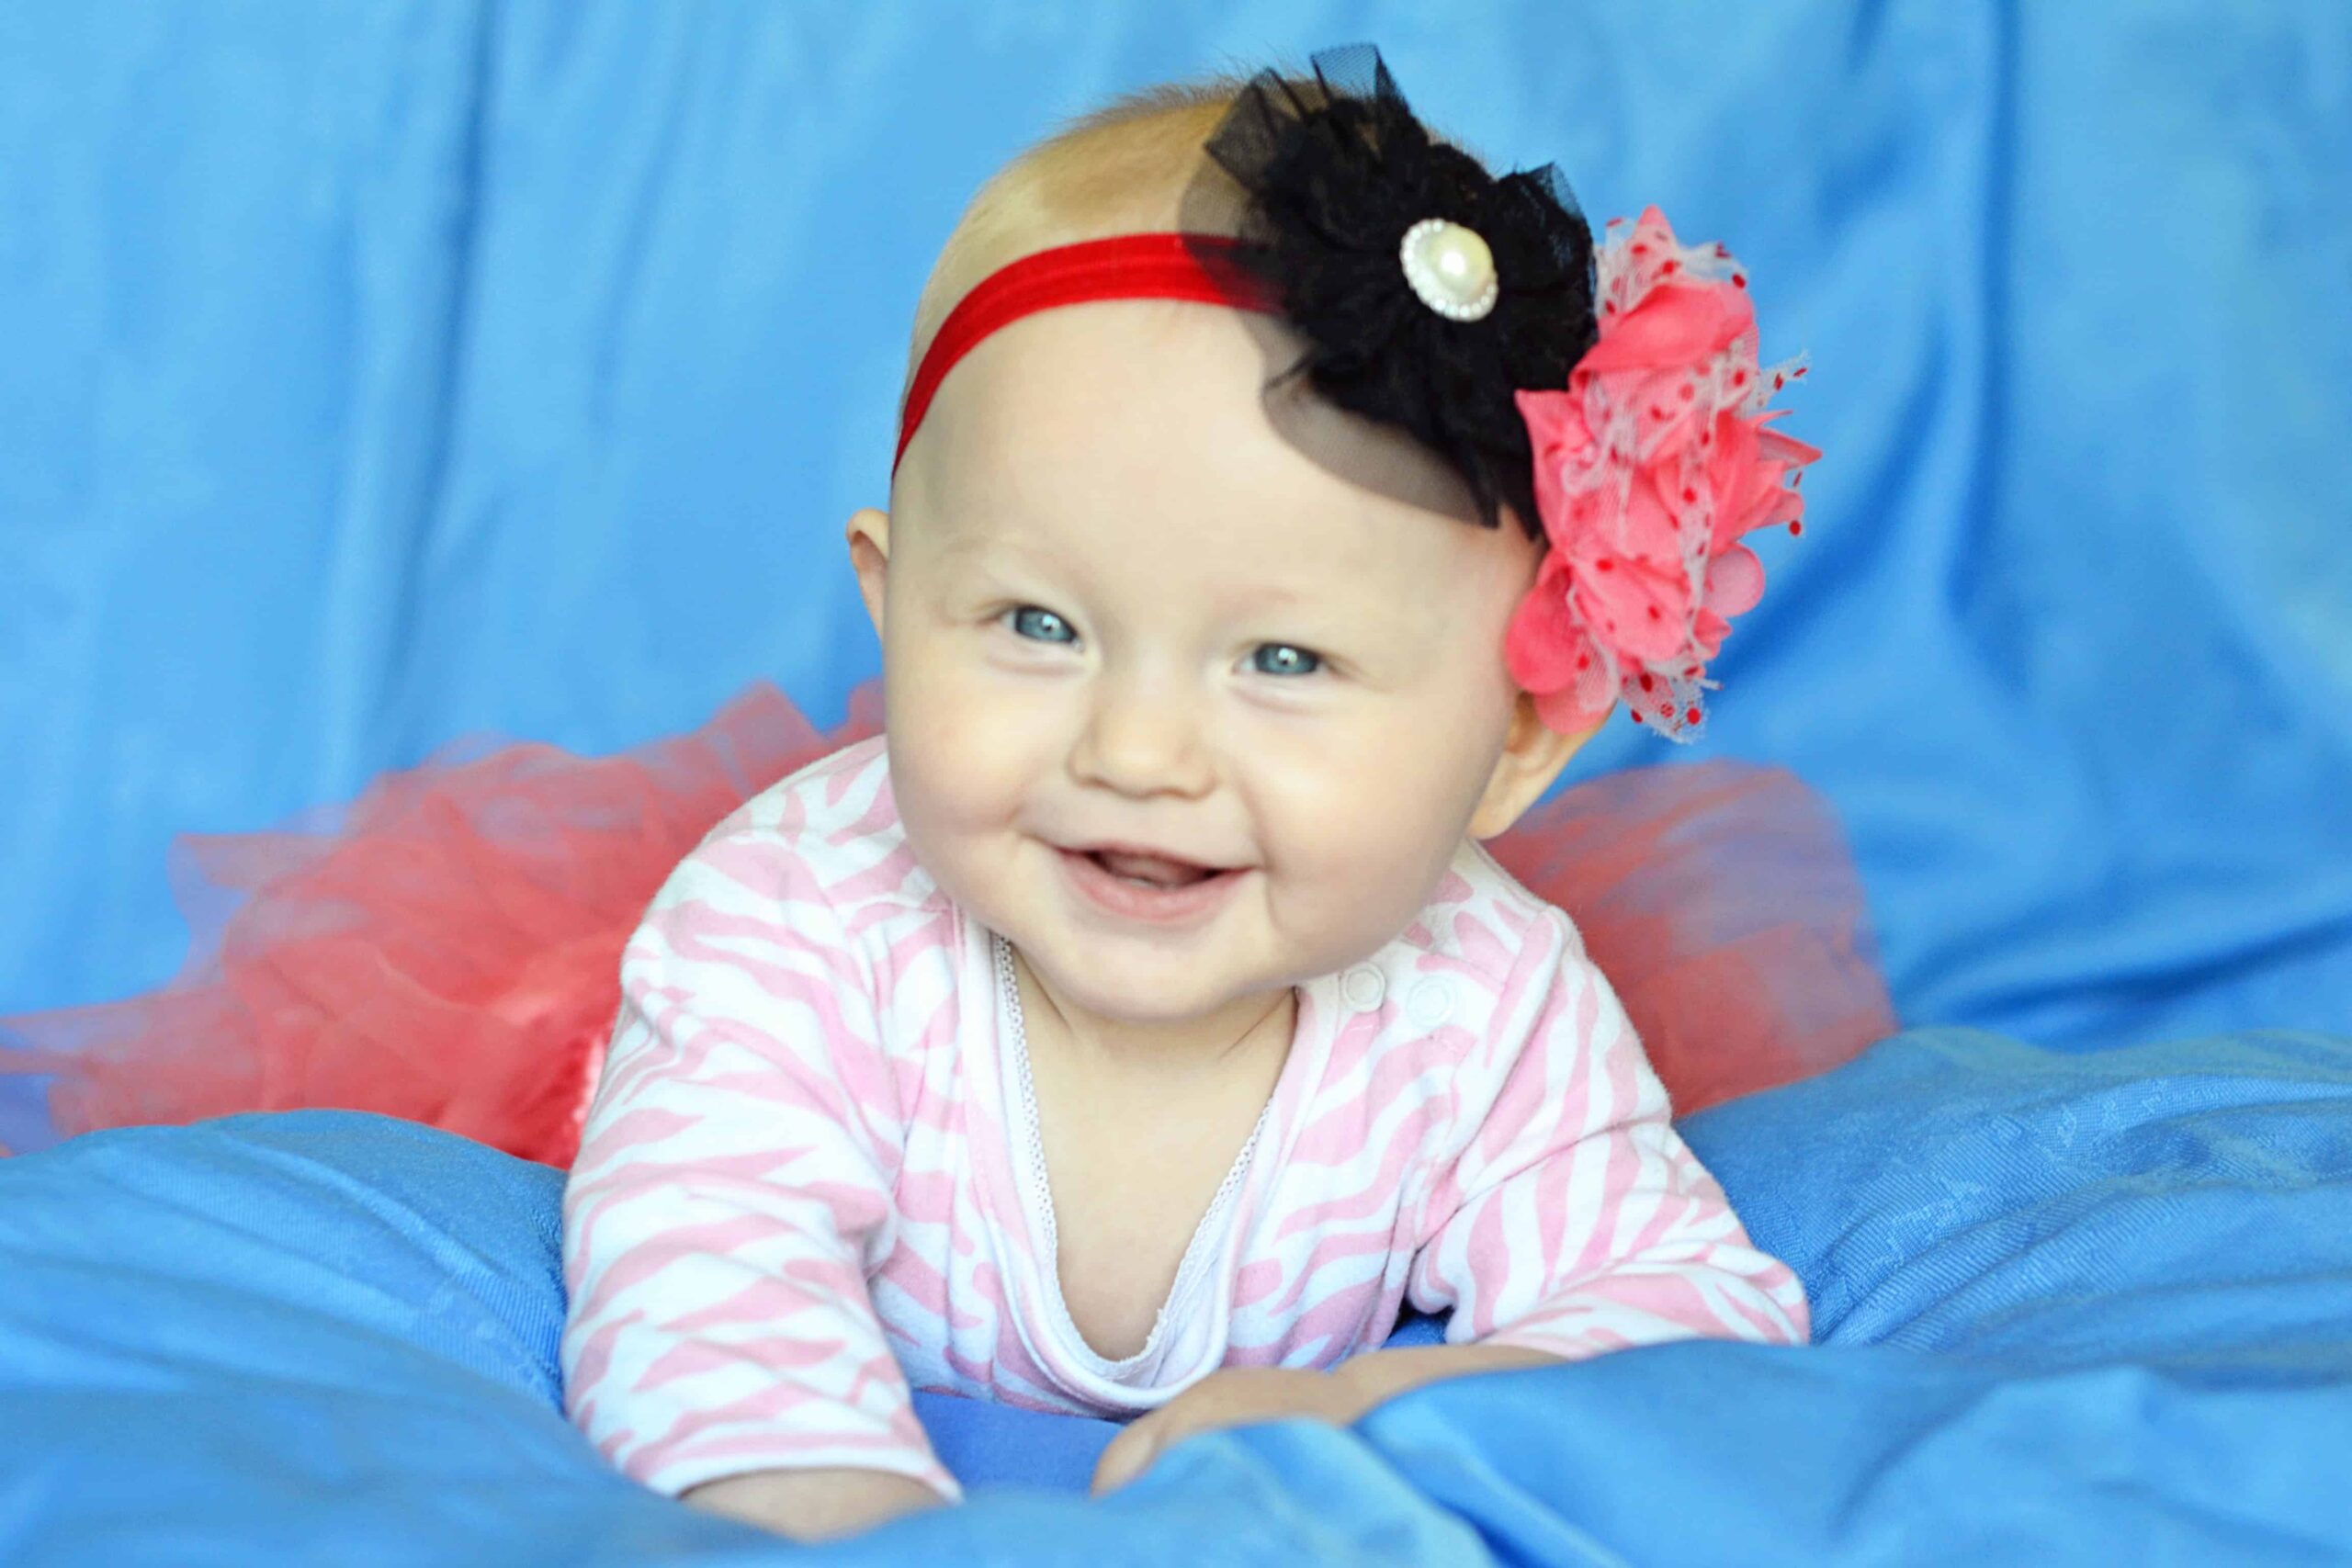
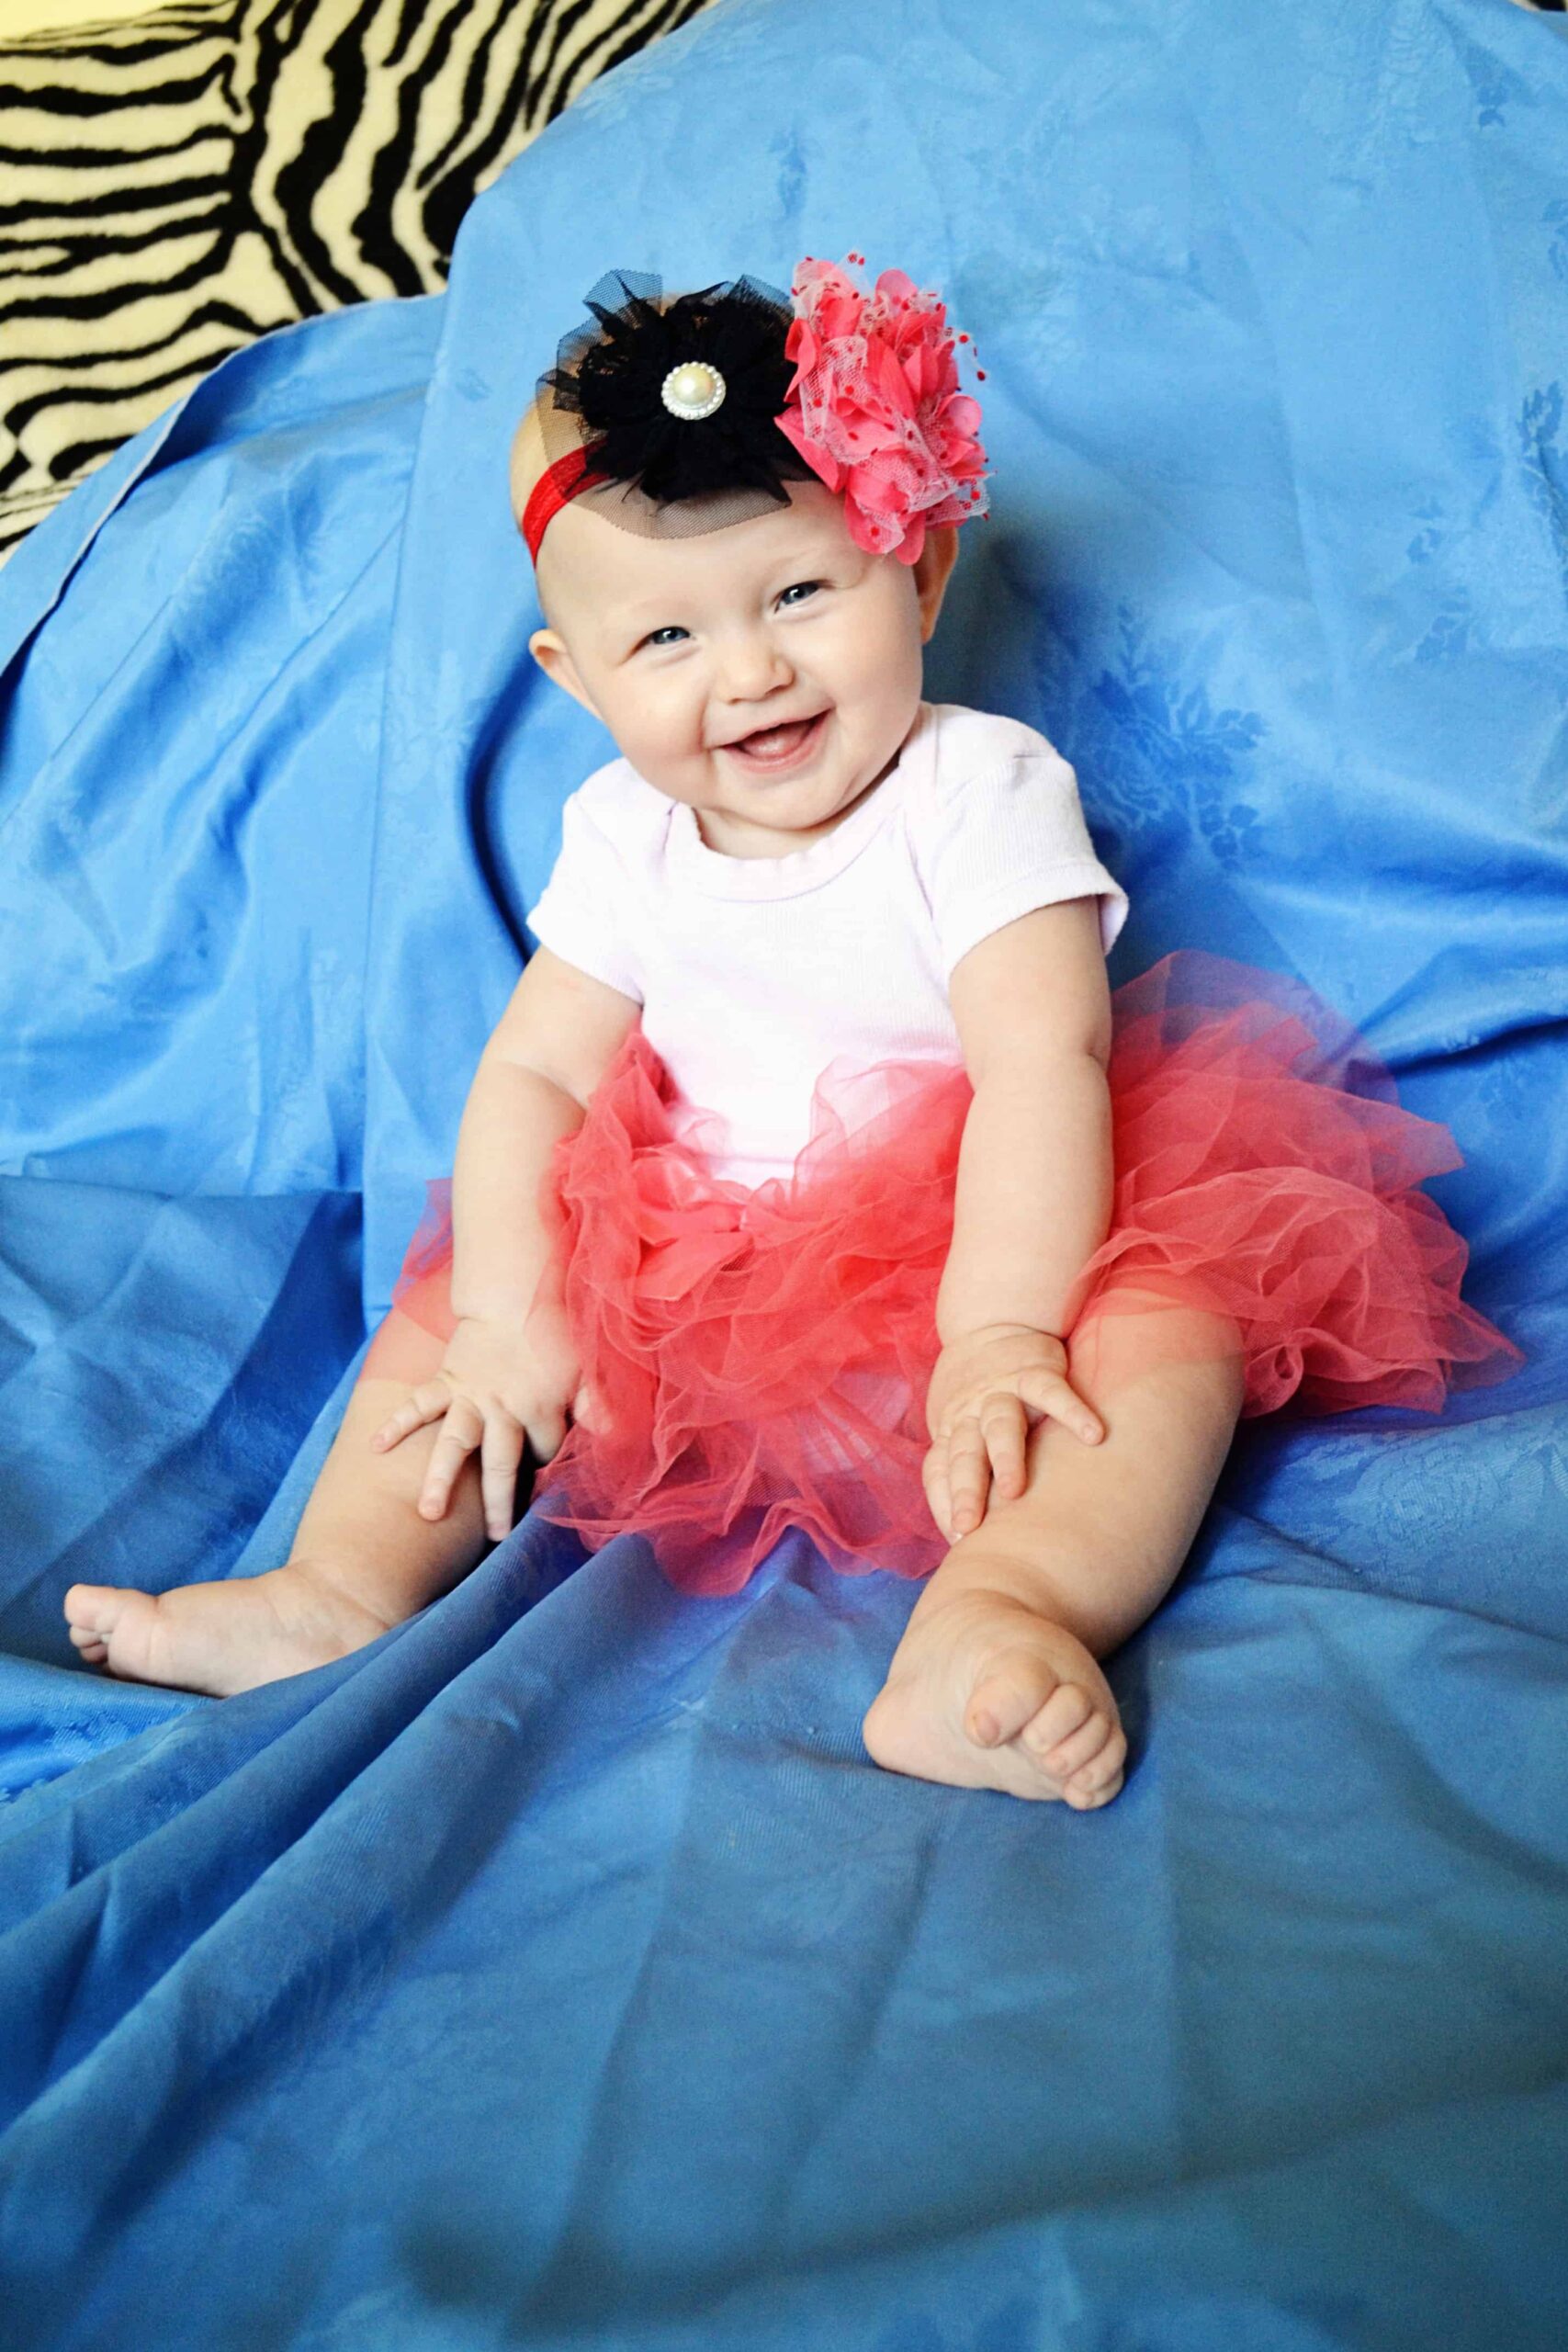
One of my first successful baby photos at home - just a blue sheet layered over our futon sofa with pillows beneath my daughter for comfort. This became the image for my home made hair accessory business.

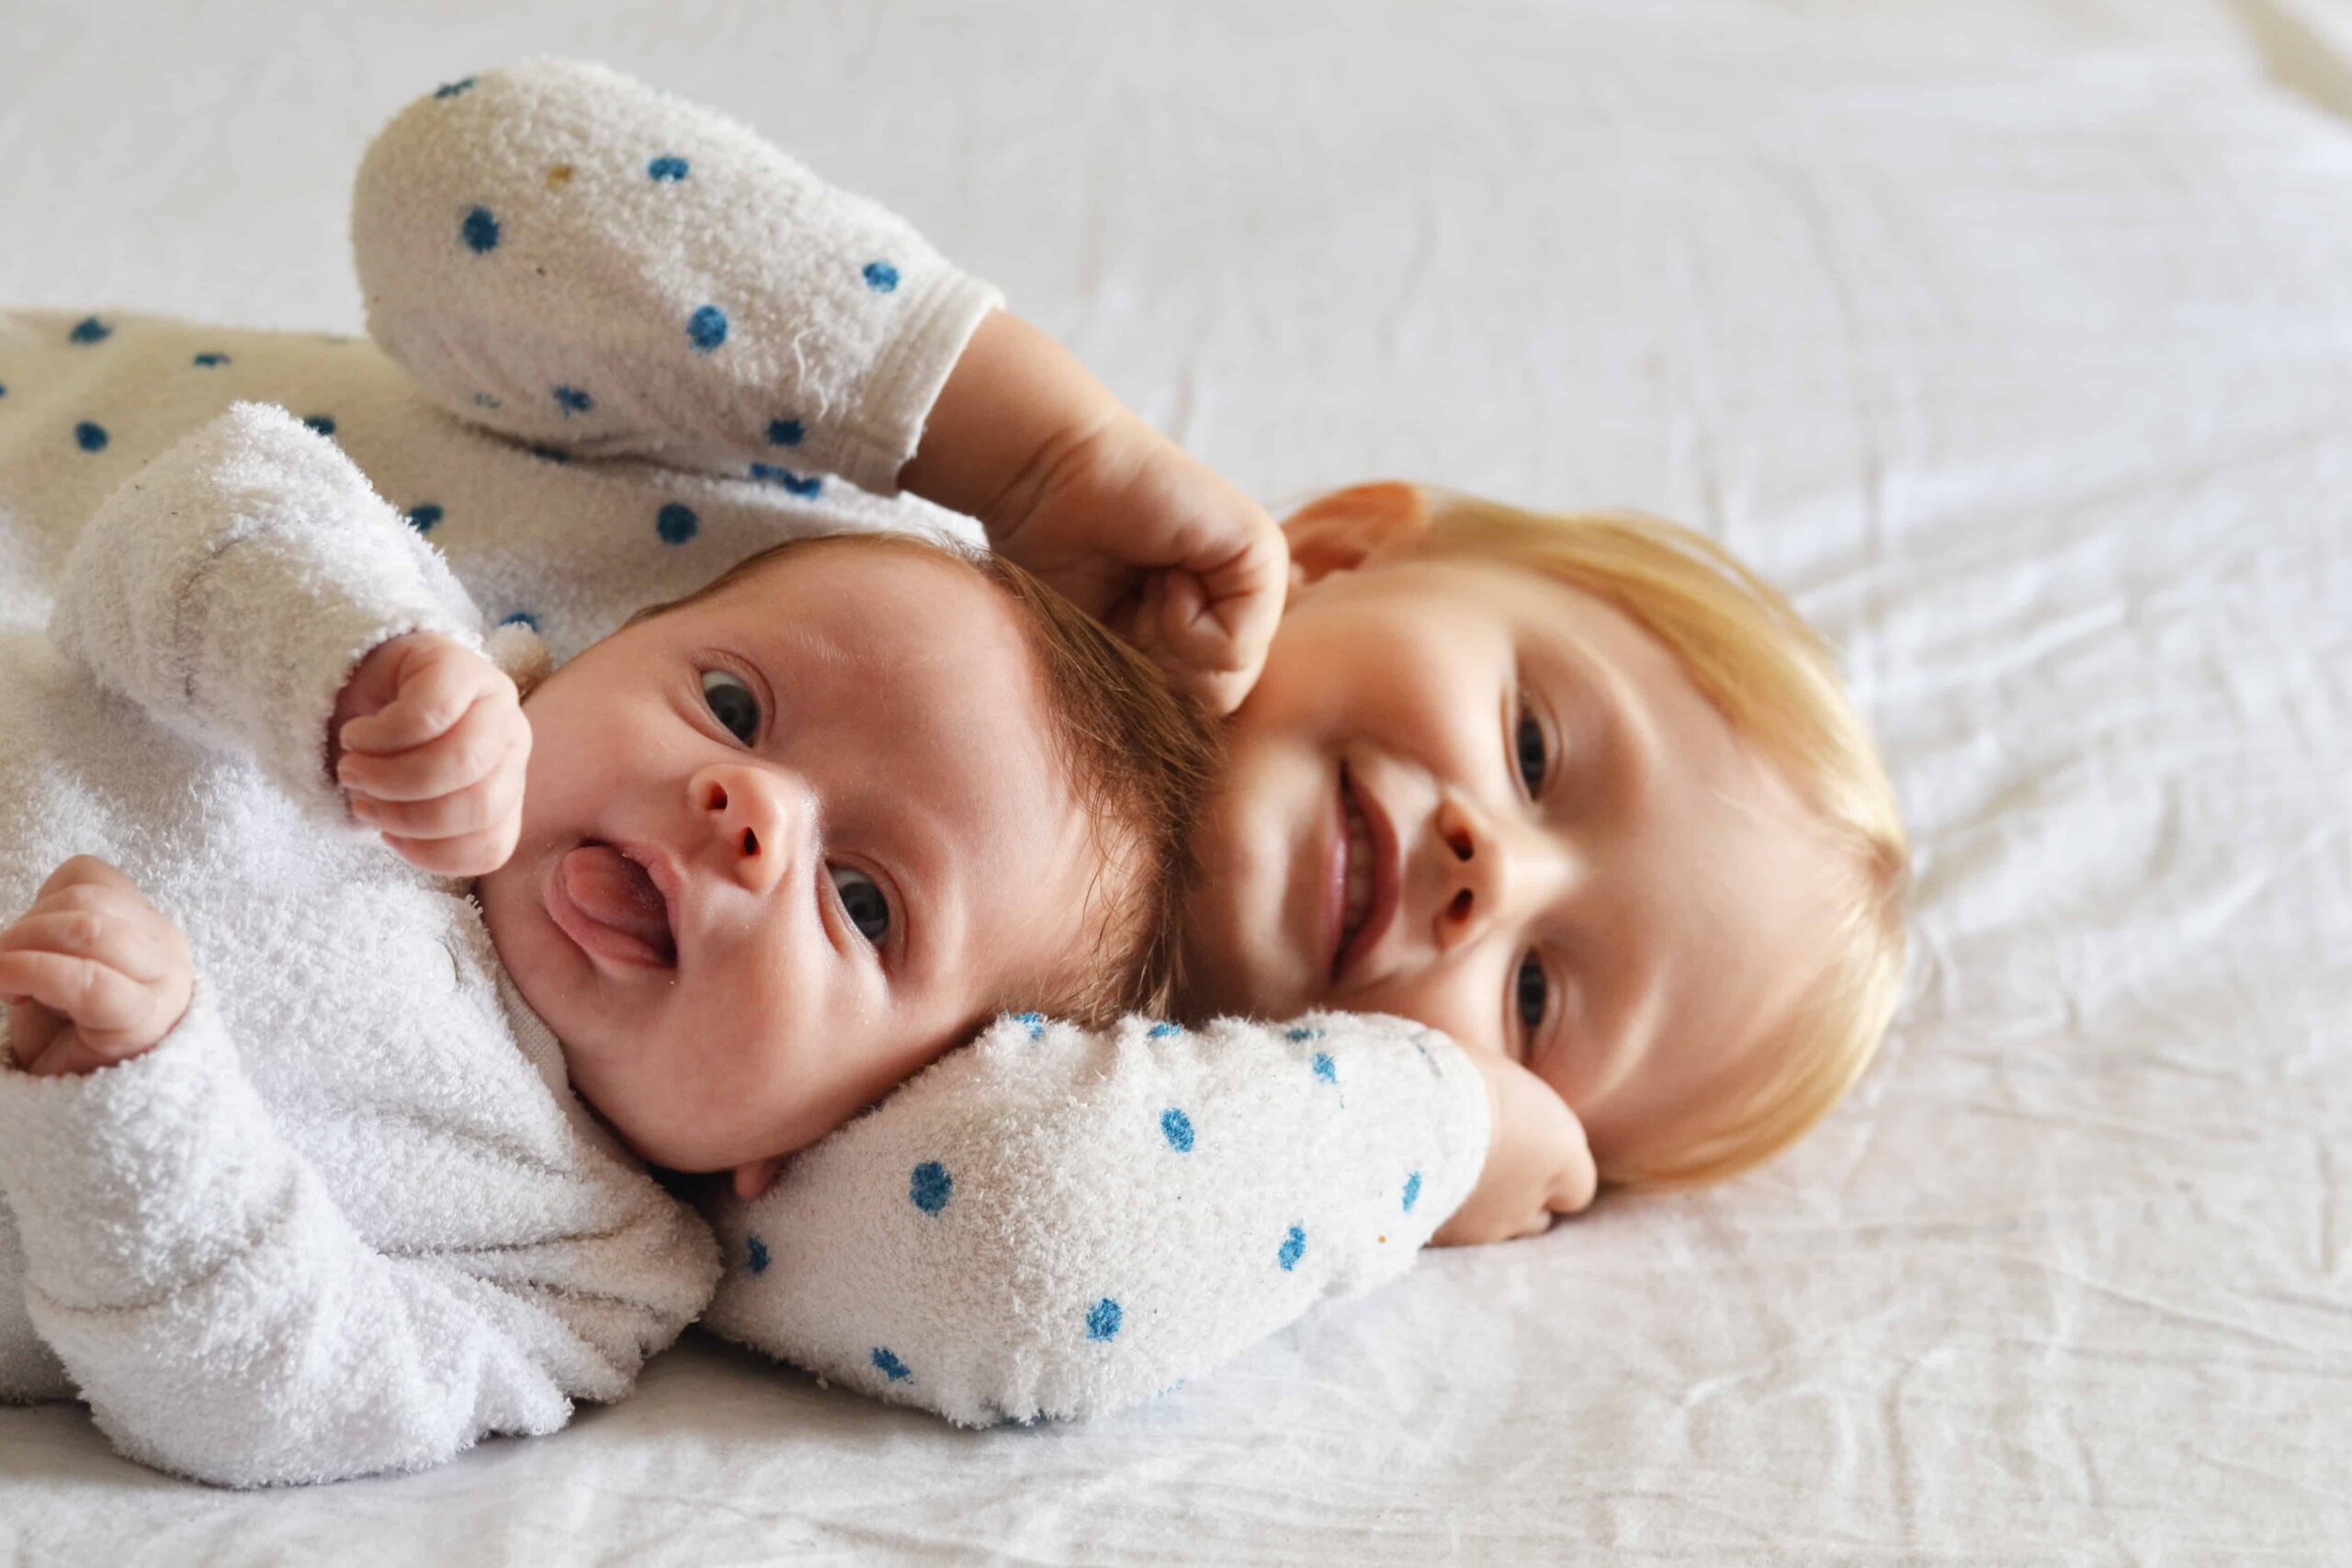
More recent - my two girls on our bed in a quick at home photo shoot in their pyjamas. This one makes me laugh just because of the face Violet is pulling.

Baby Photos at home

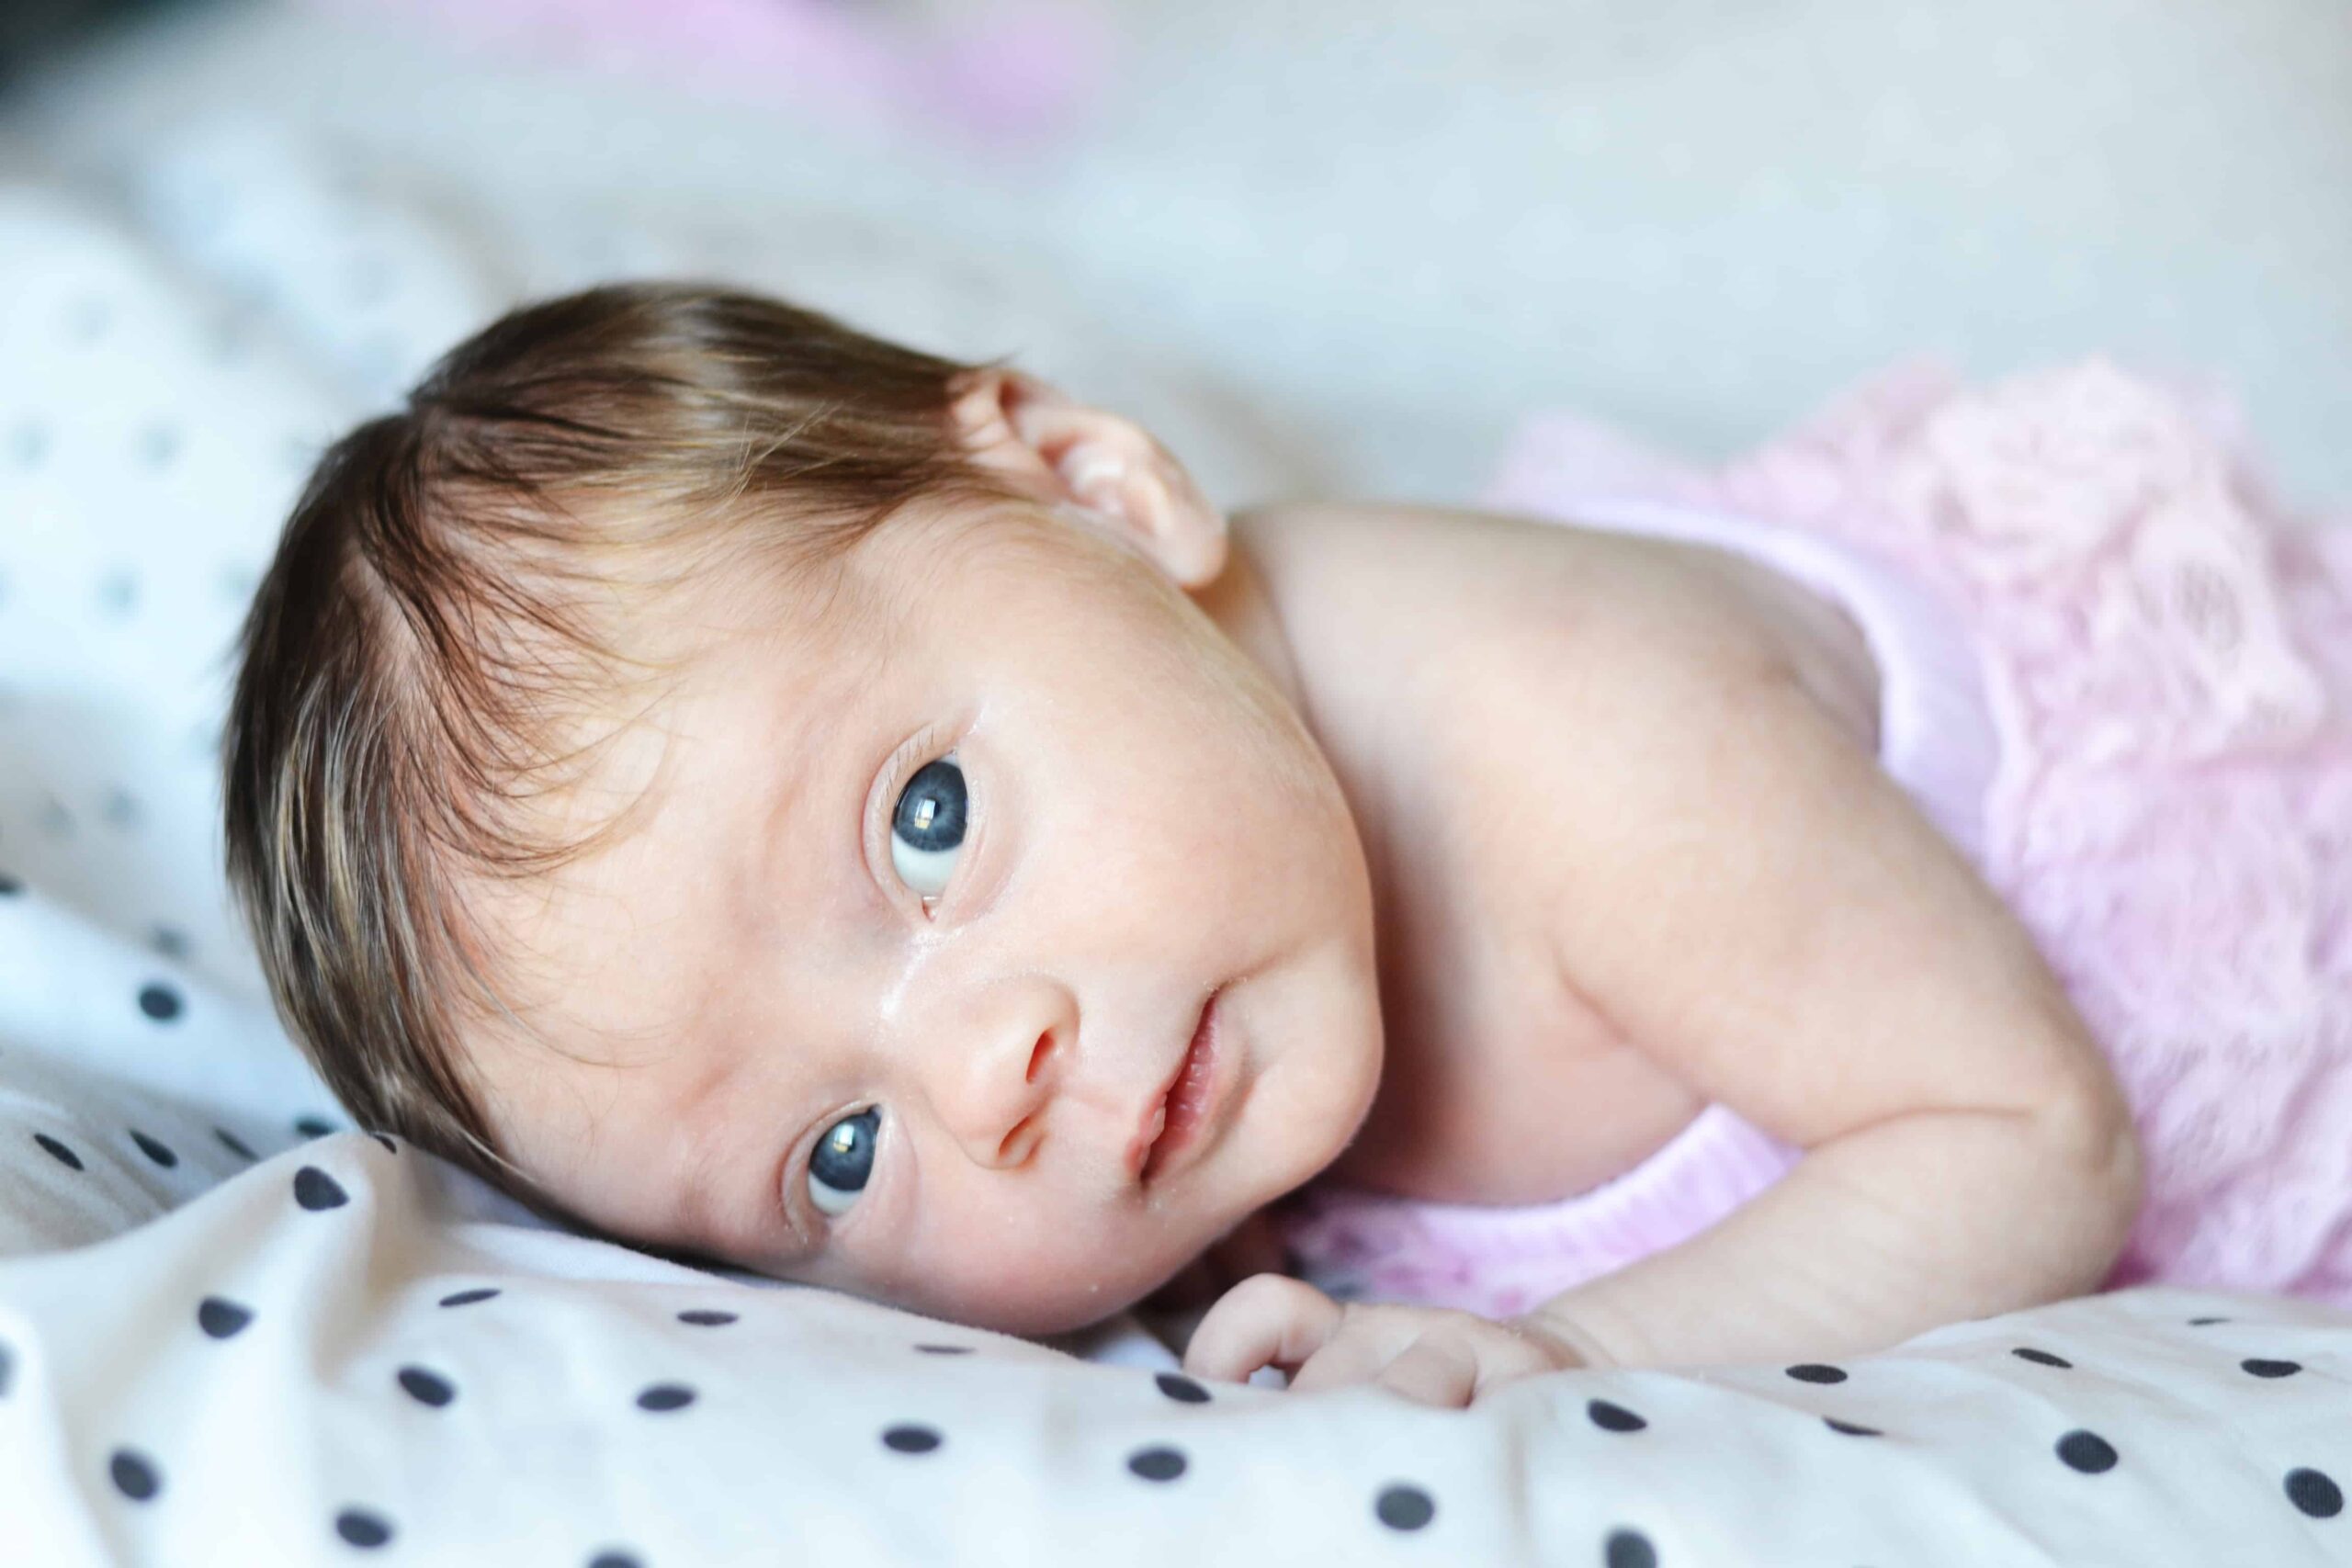
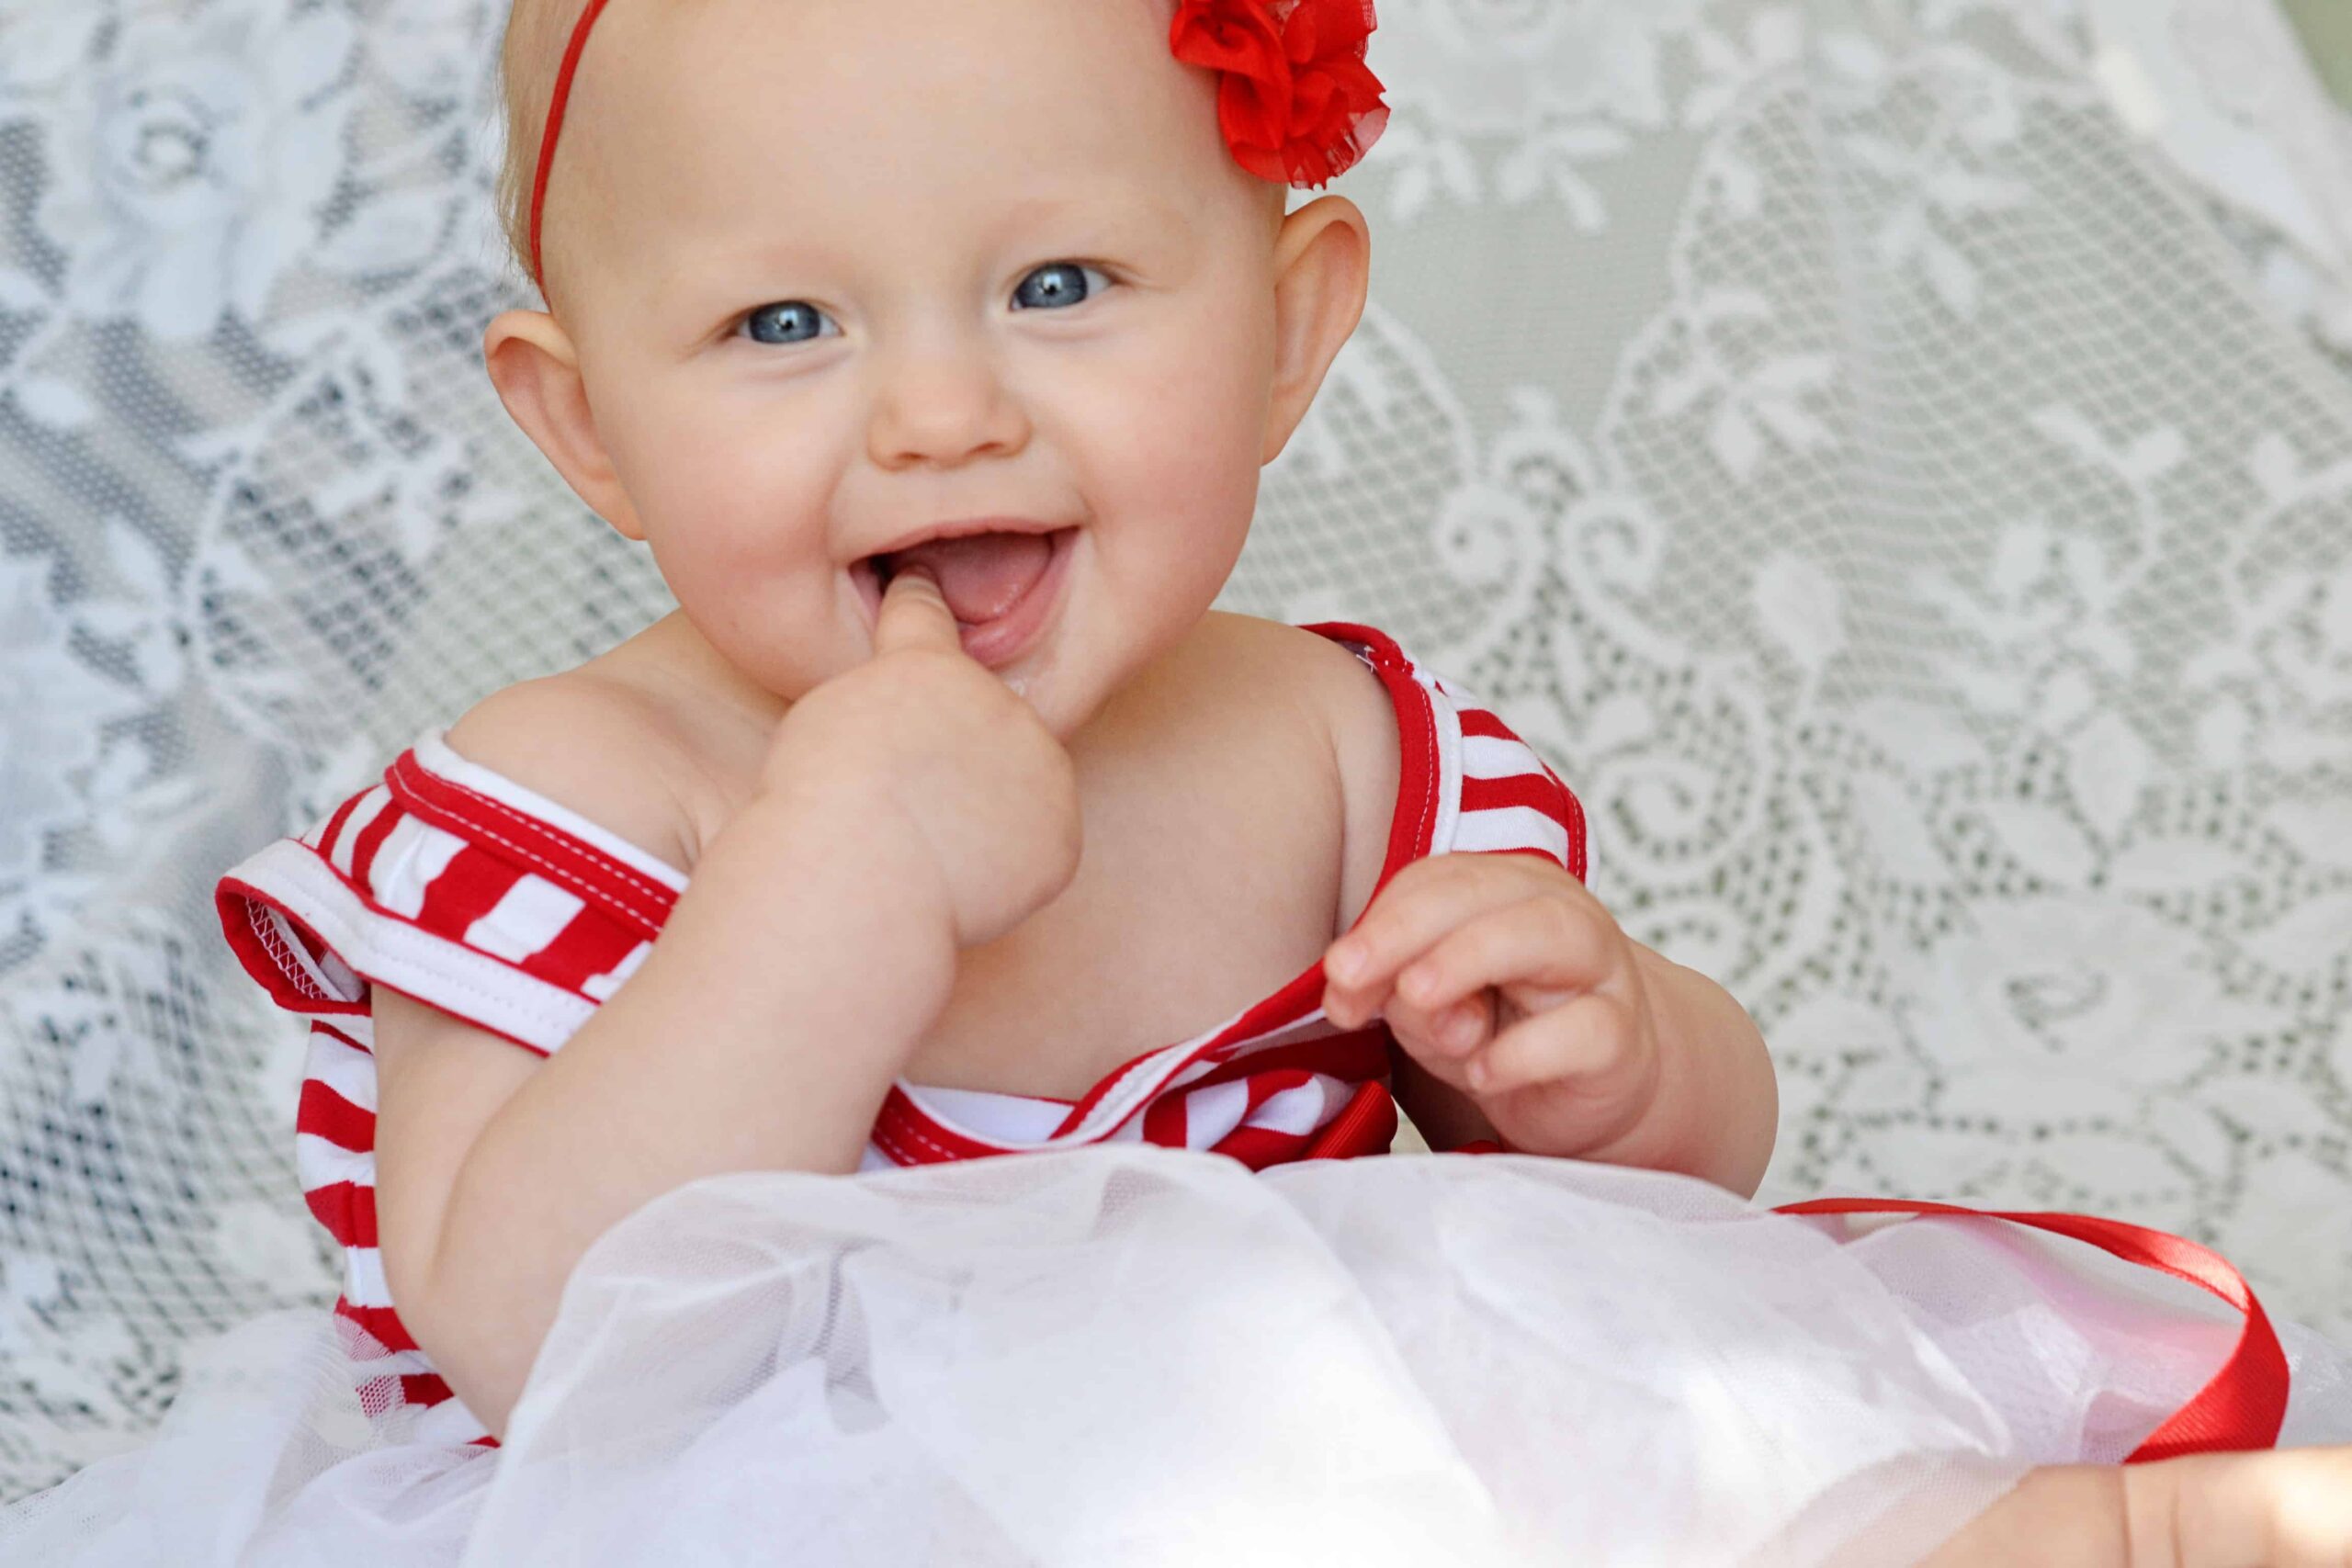
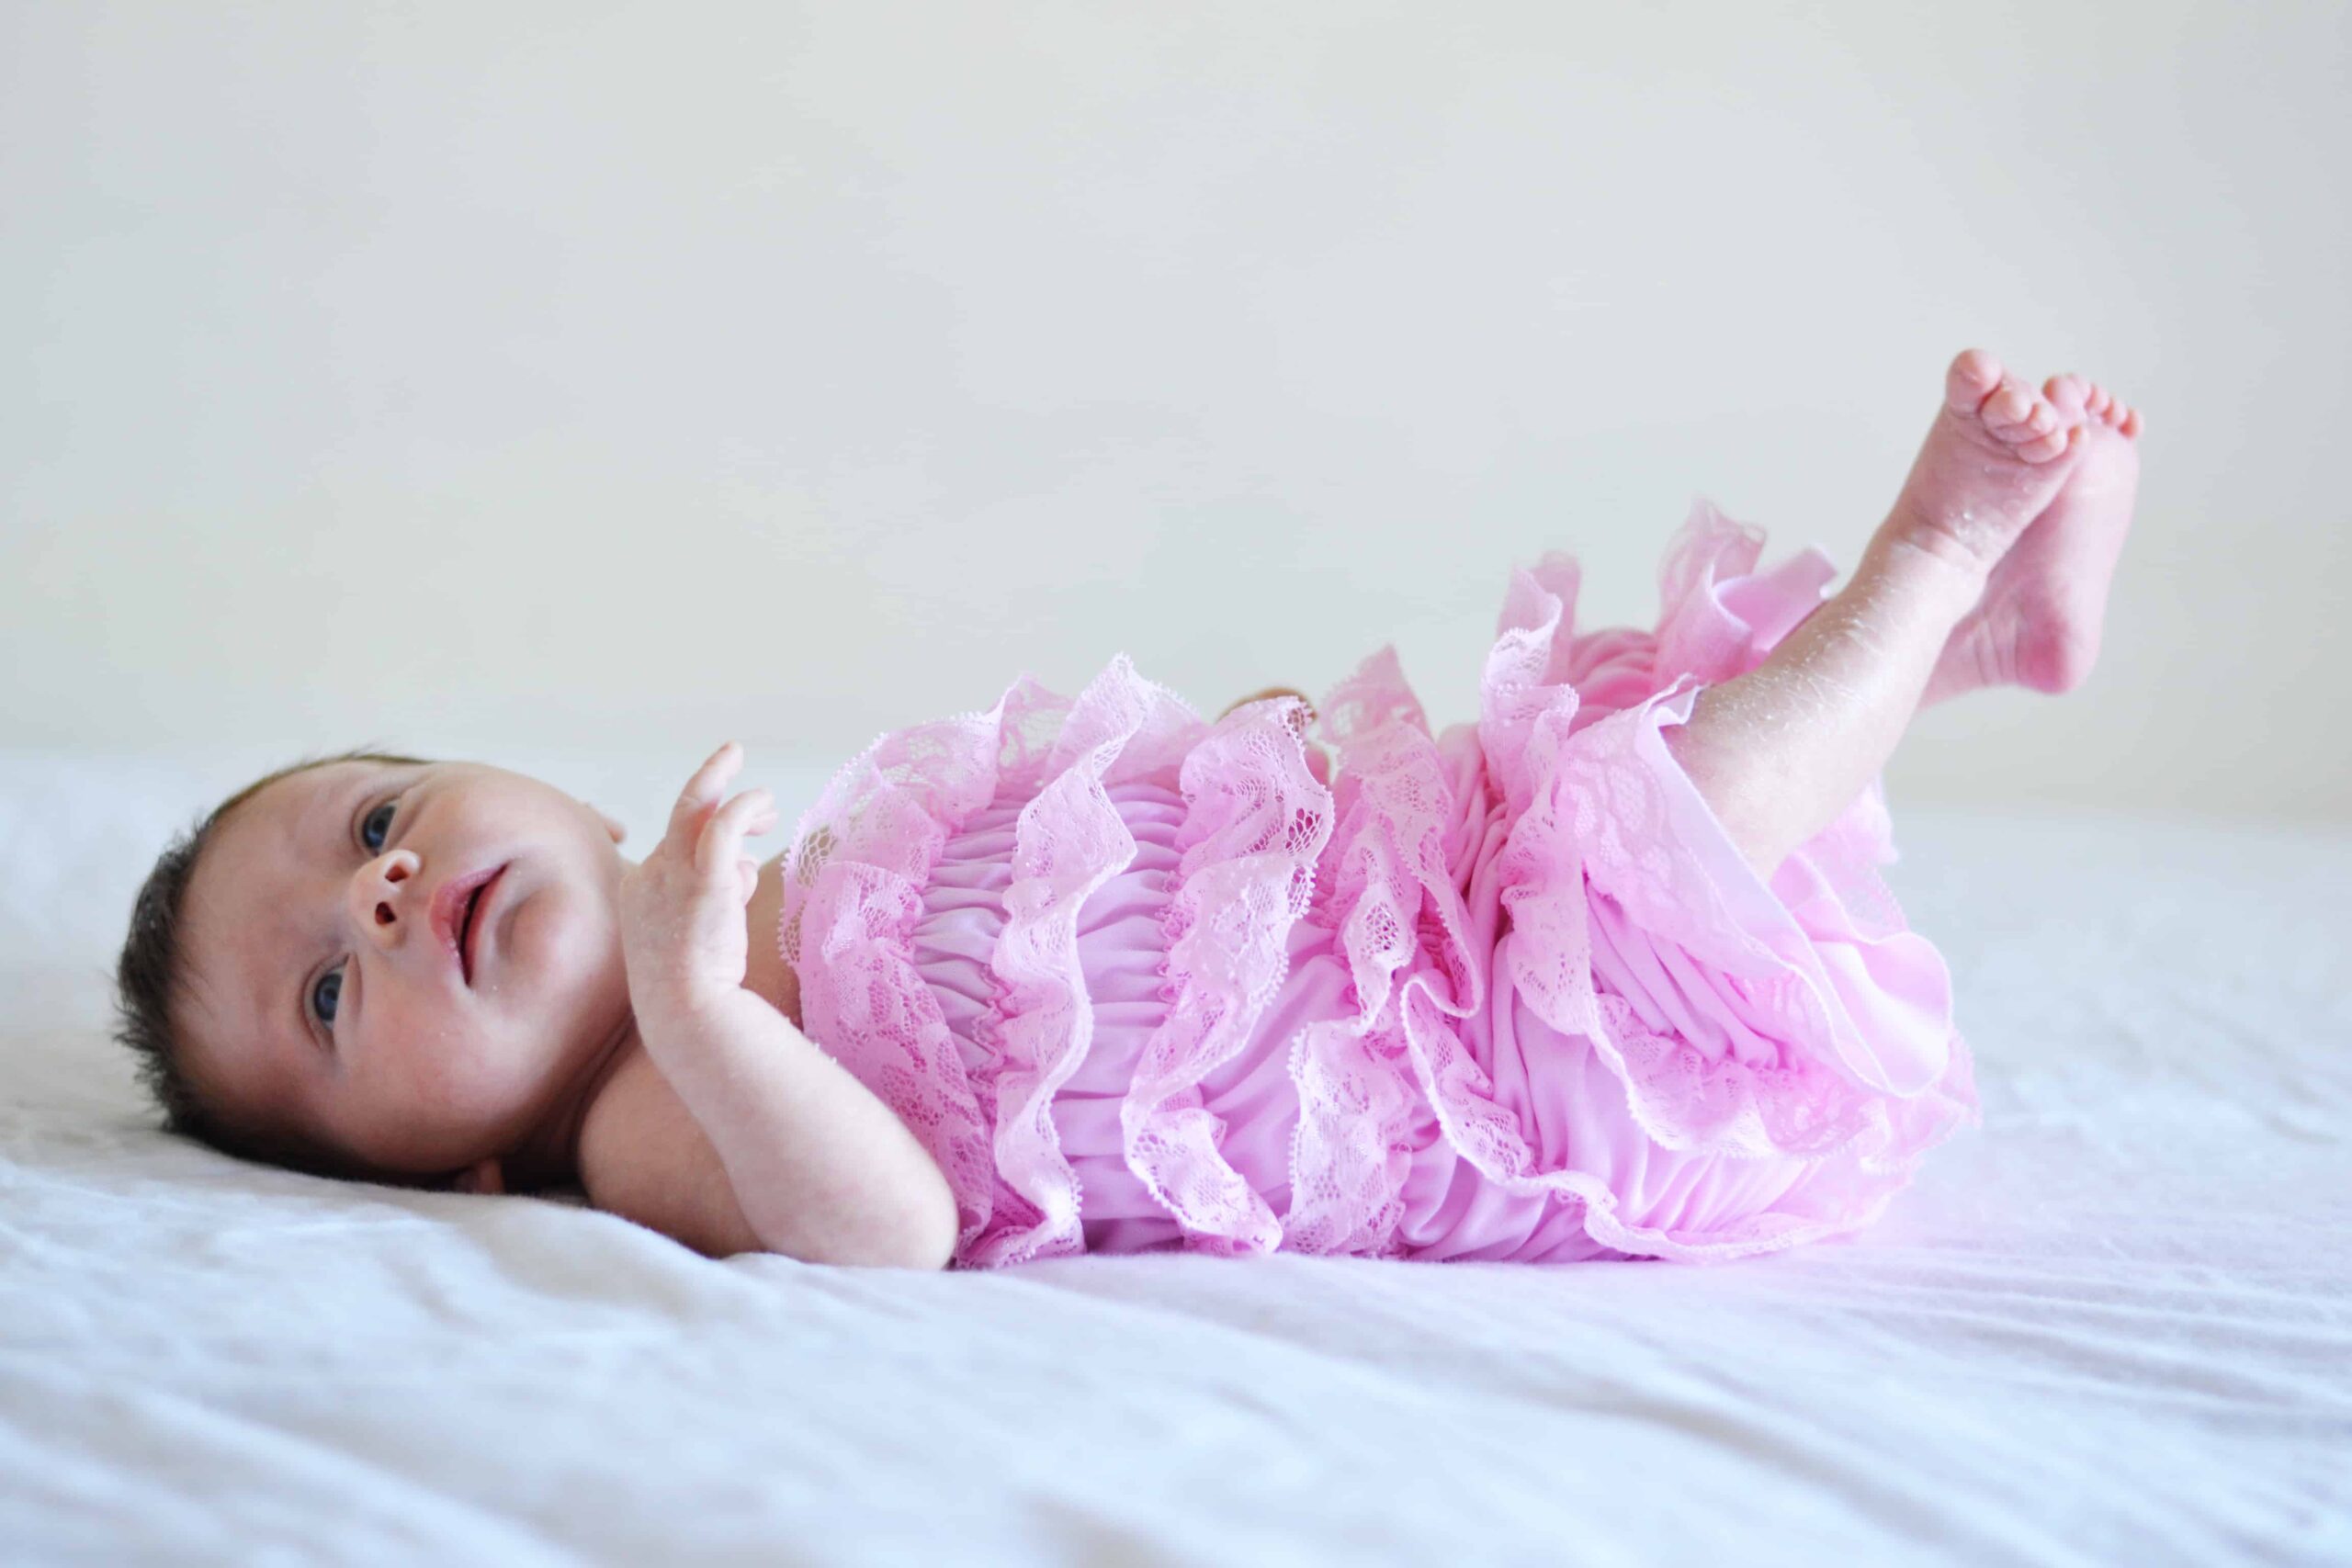
These two are amongst my favourites of Violet so far - in fact we are using the top one in the frame that will have her feet and hand sculptures in it. We used a professional photo with Lily's and I don't like the photo.

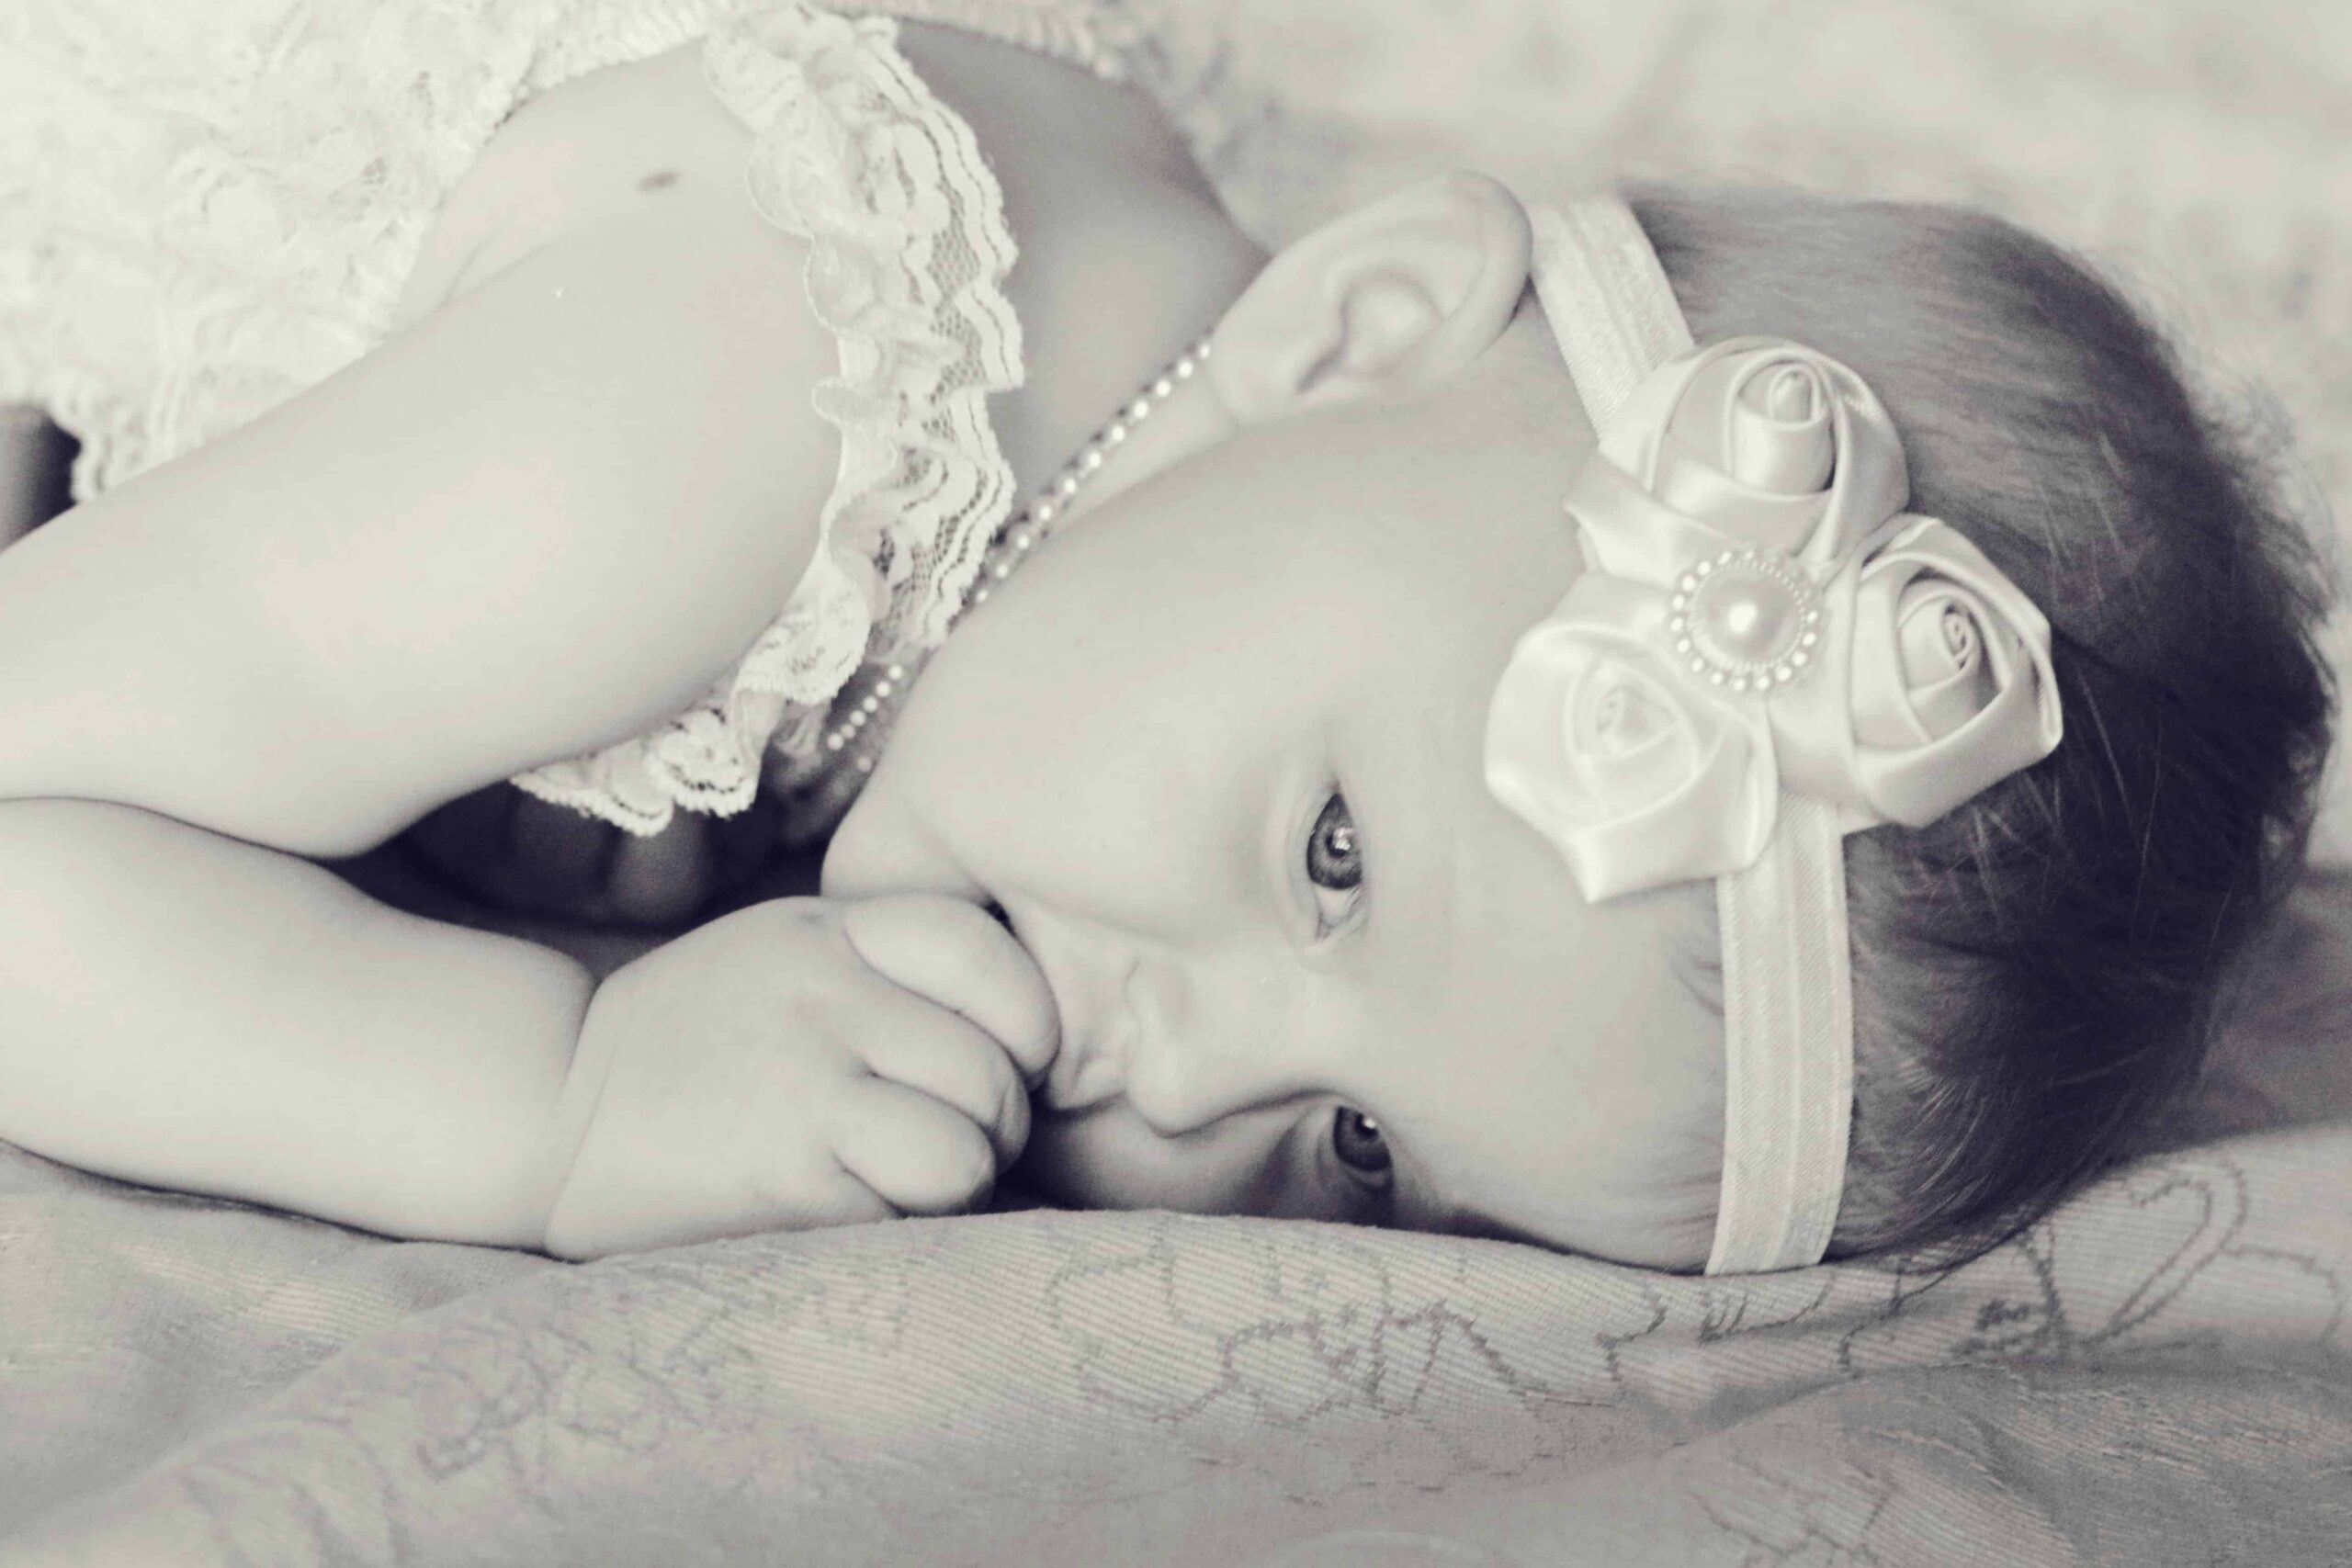
Don't be afraid to experiment with black and white if your image isn't the best lighting or just for something different. This was from a photoshoot I did when Lily was turning one.

Baby photography ideas

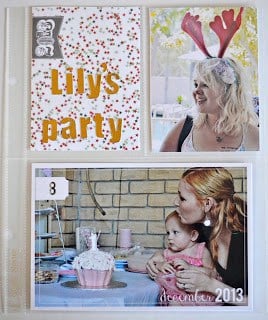
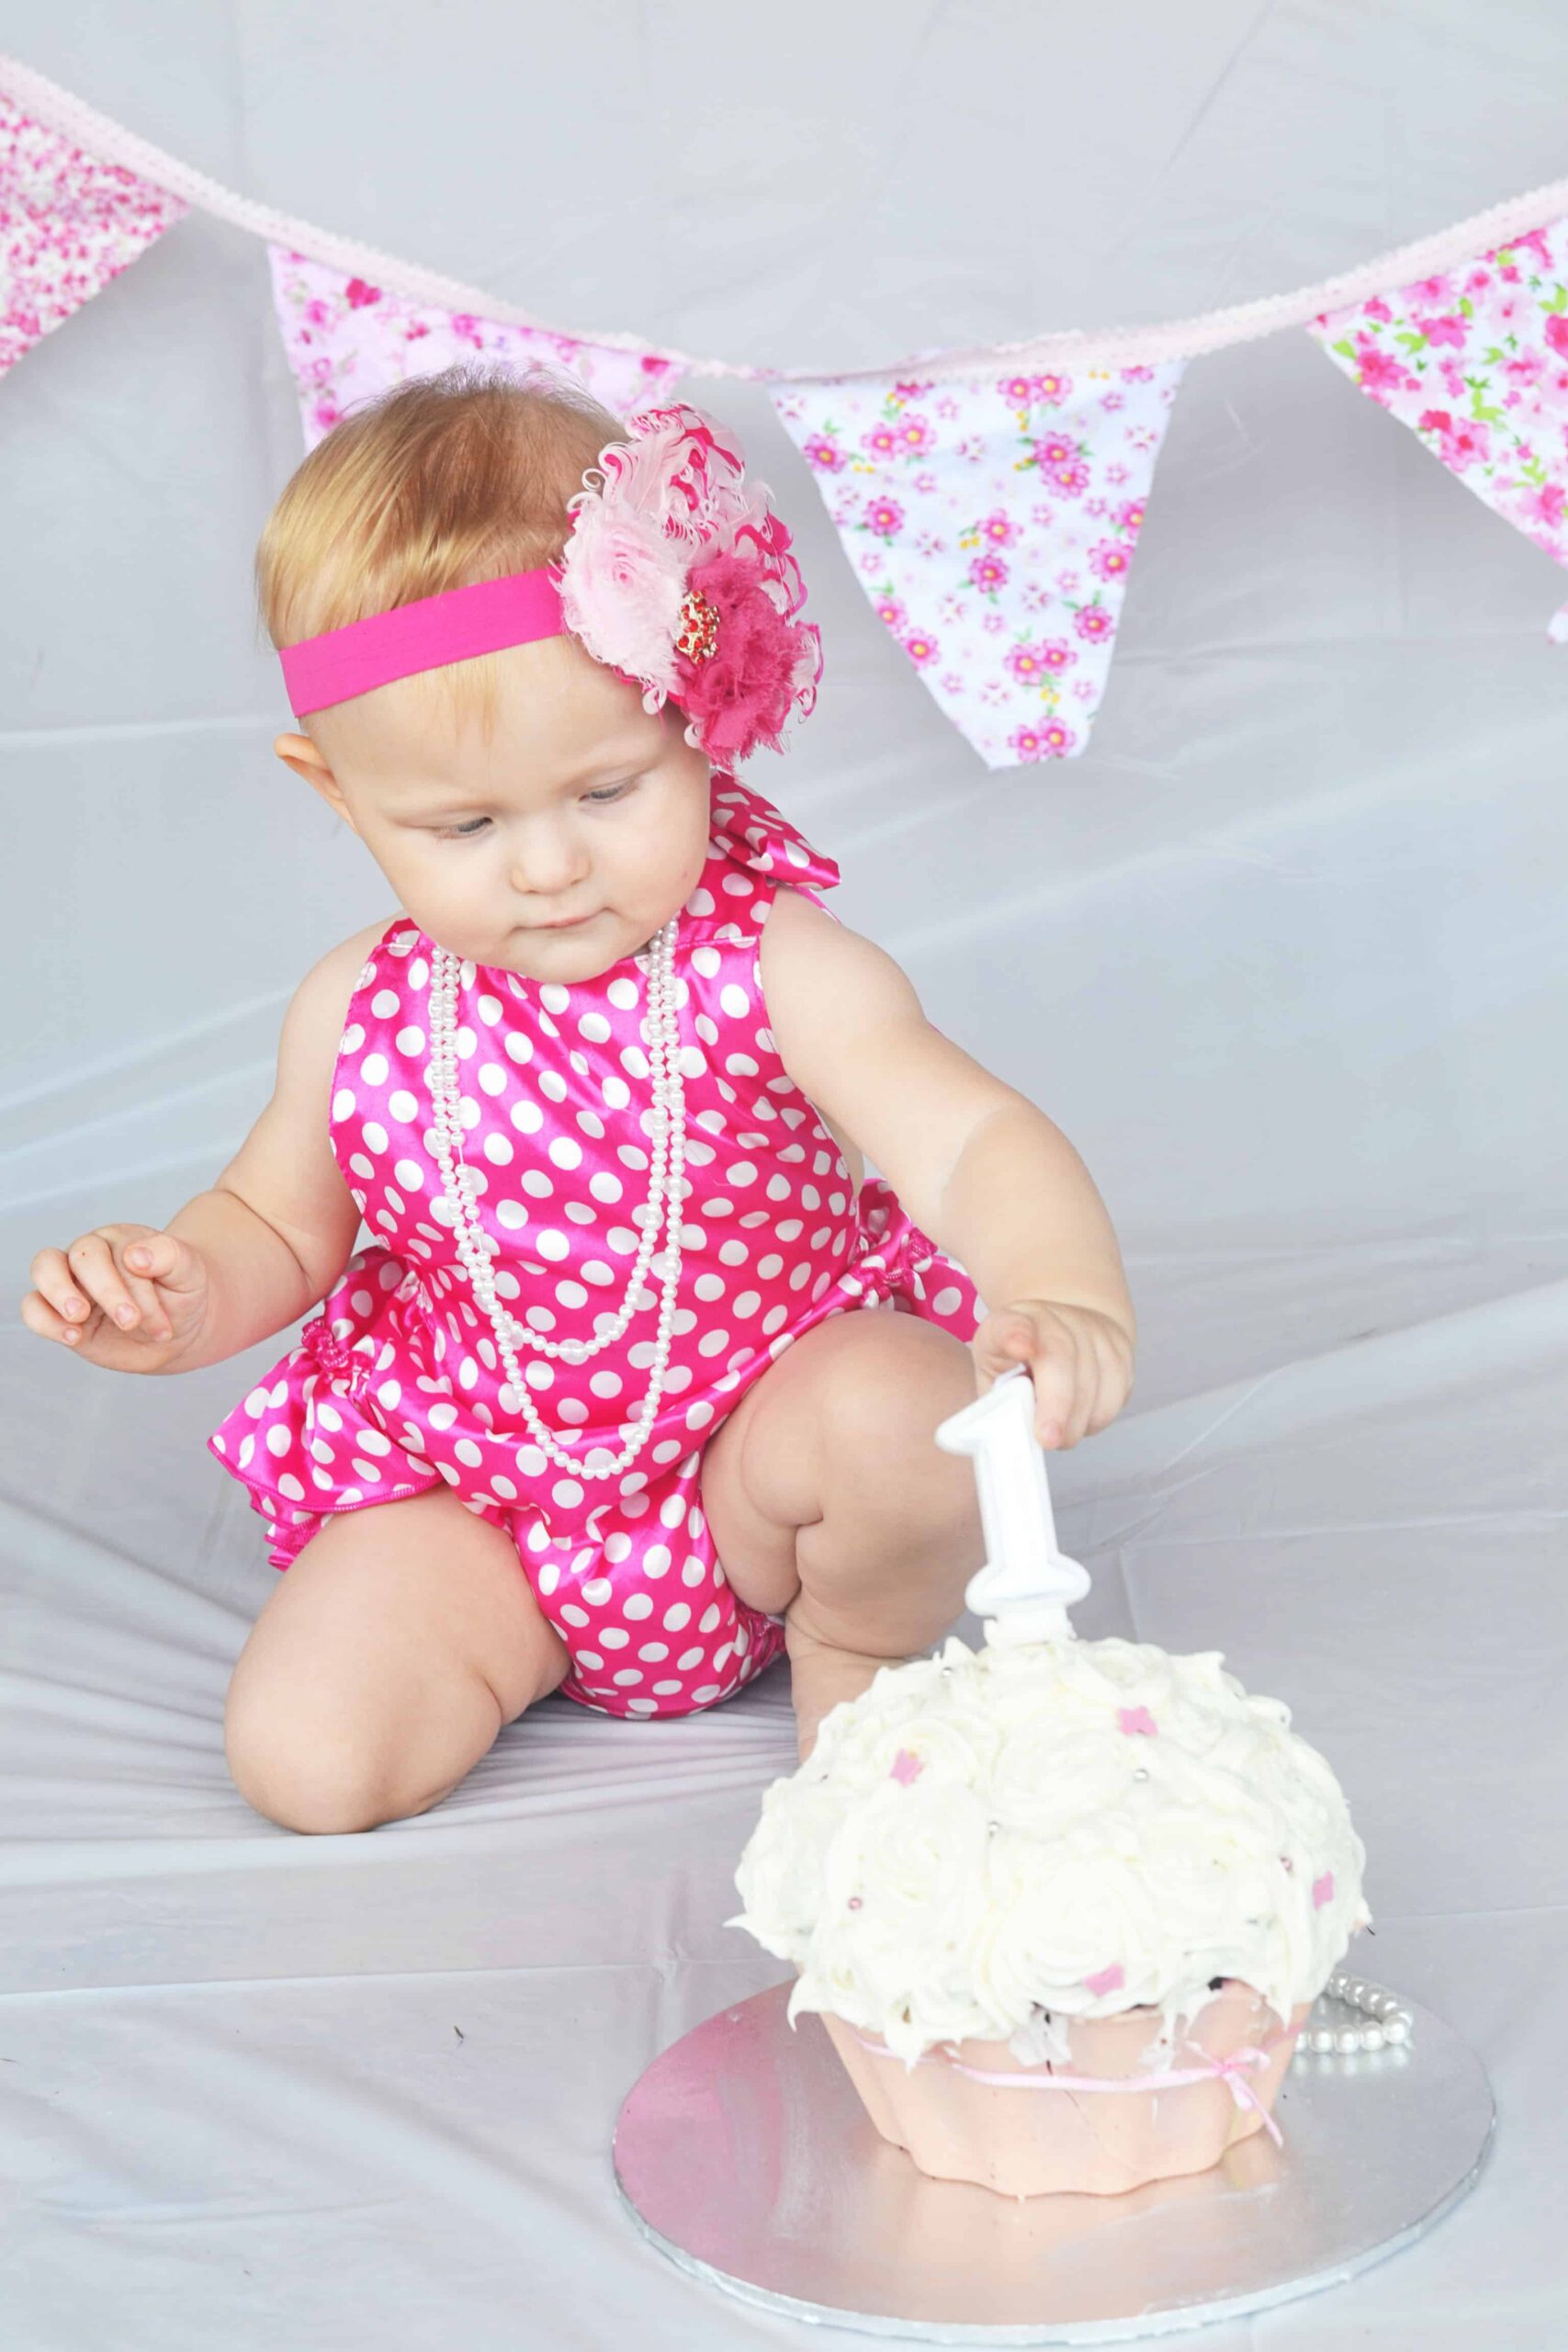
And of course the ever popular first birthday smash cake photo session. No need to pay someone to do it for you. This was done in our patio area outside, with a light pink disposable table cloth used as the backdrop, with a quickly made fabric banner. I made the cake myself too. DIY smash cake photo shoot.. easy!

Smash cake ideas

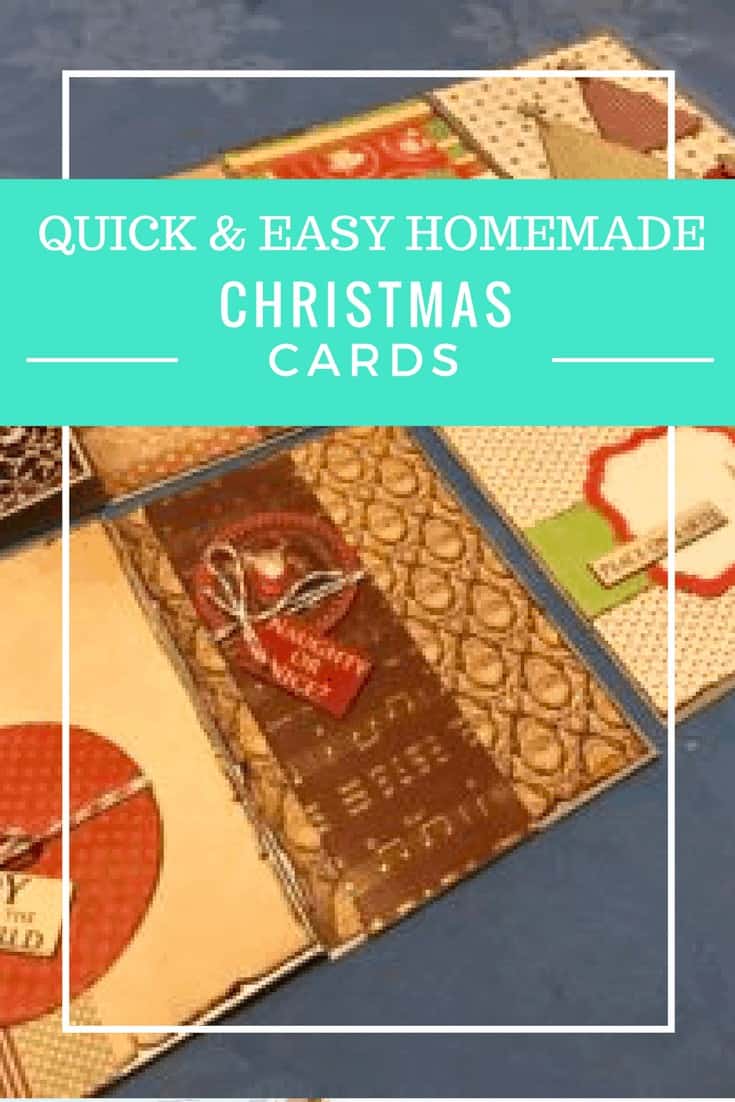
And Christmas photos - you might want to make your own personalised Christmas cards or just for your own memory keeping. You can see my 2014 Christmas shoot photos too.

And for information on my photo editing process using Photoshop Elements, check out this post.

The one thing I can't help you with is getting the baby into those adorable positions you see in newborn baby photography. Try as I might, I couldn't get my daughter to put her arms in the right place... so there were a few face in mattress moments in my attempt, that resembled tummy time more than anything else. I gave up and just rolled her onto her side... and thankfully it worked!

At least you can save money on baby photography by taking your own baby photos at home and if you are really lucky, you may even know someone who is great with a camera to take family photos for you too. Fingers crossed!

Do you get regular family portraits done?

27 July 2022

What Is Digital Project Life?

 Digital project life is a way to scrapbook your precious memories on the go! A few days ago I posted about the innovative and dynamic new scrapbooking craze that has taken over the scrapbooking world in the past 18 months - Project Life.

While I do still love playing with real paper and embellishments, the collection of supplies, gadgets and completed creations was taking up a lot of space... with the space needed continually growing to fit everything in. So after so many years of saying I would never go 'digital' with my scrapbooking, I gave it a go.

More specifically, I had an attempt at digital project life, which you will see above. I had seen so many examples of digital pages by others and loved the clean, crisp look of these pages and all of the Becky Higgins Project Life line was available digitally.

Almost instantly I was hooked and I ended up doing a complete year of my daughter's first year in both digital and a physical project life album. The digital pages I put together in a photo book for both grandmother's for Christmas & they loved it!!

Since then, I have decided to switch to digital for my 2014 yearly album, as well as going back and doing a few holidays/previous years digitally. It is so quick and easy, and all you need is a digital kit, a photo editing program such as Photoshop, Lightroom or one of the free ones available, and your photos. That's it! And there are so many free tutorials out there to teach you the basics.

The best part about digital project life otherwise is the space saving. You can keep the pages all on your PC, displaying them perhaps on a website, facebook or a blog, or you could have them printed individually and slotted into a scrapbook album in between traditional pages, or have a photo book printed with each of the layouts in order.

Check out some of my completed pages.

Project Life has transformed the way I record my memories and introduced me to a new appreciation of creative simplicity that I am so grateful for. I love that it is a system that can be adapted to suit the Individual, and as such, we all adapt our own process.

My Digital Project Life Process

The Project Life app seems to have been many people's introduction to digital project life, as these days I get so many questions on my Instagram photos on how I did a certain thing on my page using the app. In actual fact, I rarely use the app. My project life creations are mostly done via PC. So I thought it might be useful to share with others what my project life process looks like.

I am a digi project lifer mostly these days, which came about almost by accident when I decided to try for fun. Who knew that would one day lead me to my dream creative team, as part of the Becky Higgins 2015 team. That's bucket list stuff right there!

To create my pages I use a windows PC and Adobe Premiere Elements 11. There are a few new versions these days, or you can subscribe direct to the Adobe Creative Cloud for all the most up to date software, but PSE11 does the job well.

I store my photos on my PC in yearly folders, further separated into monthly folders. I also store my digital project life supplies in folders on my PC (backing up both often on an external hard drive).

My process goes like this:
1. Open PSE11, my current photo folder & Project Life folder.
2. I work weekly, Monday to Sunday, so I highlight, drop & drag all the photos from that date range into PSE.
3. I go through and cull the photos that won't make the cut for the weekly layout by simply closing them in PSE so I'm only left with the good ones (and still often more than what will go into the layout).
4. Based on the photos for the week, I choose suitable digital PL templates and open them in PSE.
5. I edit my photos as I go, adding them to the template along the way until I am happy with my photo placements.
6. I open the folder of the PL kit I want to use and highlight, copy and drag the journal & filler cards I think will work then have a play around til I am happy with the colours, placement and overall look.
7. I add in my journalling and any extra digital elements to the page.
8. I choose a pattern paper for the background and simply drag my layout template on top, drag in the corners to create a border and save the file as whatever week layout it is. I also save a copy of the PSD file in case I need to make changes later.

That's pretty much it. Nothing complicated. It has worked well for me for the past 2 years, although of course I am always eager to learn more and experiment.

I would love to hear about your project life process so please share in the comments. 

Keep an eye out soon and I will do a comparison between Digi & Traditional style project life scrapbooking in case you aren't sure what will suit you.

Project Life Scrapbooking - Record Your Family Memories

 Project life, or pocket scrapbooking, is the perfect alternative to traditional scrapbooking if you are looking for an option to save space and keep your memory keeping systems simple. Find out the basics on project life scrapbooking and how you can get started on your first album.

PROJECT LIFE SCRAPBOOKING

No more bulky scrapbook pages and endless tubs of embellishments, stickers, papers and tools. This is the easiest way to get in control of your memory keeping without spending endless hours doing so! Scrapbooking without the overwhelm!

How I Got Started

I have been a scrapbooker for many years now. While many people start once they have kids, I kicked off my scrapbooking hobby after an overseas trip, as a great way to incorporate my photos and memorabilia in the one place.

From there the hobby really took off and I have since been on many design teams for scrapbooking manufacturers, stores and challenge blogs.

Apart from those very early pages that were extremely basic, flat and symmetrical, my scrapbooking style became somewhat 3D, incorporating a lot of mixed media, textures and materials. Lots of large embellishments and layers of papers and flowers.

This means I had to switch to D-ring scrapbooking binders just to fit my pages and in fact, many are still in piles in my craft room waiting to be added to albums.

When my daughter was born, I started to have a little panic. If I kept scrapbooking the way I was, the pages were going to take over my house. We would be buried alive by scrapbooks. Uh oh! So I needed a solution to my creative overflow.

Project Life Scrapbooking - Record Your Family Memories

What is Project Life Scrapbooking?

That's when I found Project Life scrapbooking, which is a simplified way of scrapbooking as created by a well known figure in the scrapbooking industry, Becky Higgins.

Project Life scrapbooking can be described as a combination of old style pocket photo albums and modern day scrapbooking, essentially turning each of those little 'pockets' into a mini scrapbook layout.

This can  be done as simply as sticking photos in pockets and journal cards in others, with nothing more than a pen to write your memories. Or it can be a little more elaborate, with embellishments, digital scrapbooking elements and mixed media.

Project Life is not only simple, and compact, but it also got me started on recording the everyday moments that got lost with traditional scrapbooking. In the past it was usually about the best photos and they did not always have the best story behind them.

And a whole year of project life typically fits in one or two albums.

Project Life Scrapbooking - Record Your Family Memories

How You Can Get Started

Getting started with Project Life is simple. You don't need a huge collection of papers, tools and embellishments. If you want to keep it simple, all you need to get started are:

  1. 12x12 Binder
  2. Project Life Core Kit
  3. Big Pack of Photo Pocket Pages

Most other scrapbooking manufacturers have since jumped on the pocket scrapbooking bandwagon and have their own versions of card packs and albums, such as Kaisercraft, Bo Bunny, MAMBI, WRMK, MME etc.

Getting started with project life scrapbooking

This gives you plenty of choice to mix and match your albums and cards, to create the perfect way of recording your memories.

Here in Australia, Spotlight stores are a great place to shop in store for all you need to start your Project Life journey.

Project Life Scrapbooking - Record Your Family Memories

The Process

Once you have your supplies, you just need your photographs. If you are not one for digital photo editing, you may simply choose to get prints of all the photos you would like to include, from your local photo lab.

Or if you are like me, and you enjoy dabbling a little bit in photoshop, this gives you the chance to edit your photos and crop them. You can also add journalling direct onto your photographs before having them printed.

I print mine at home using an Epson printer, which has comparable quality to the online print labs like Snapfish. This is great if you are wanting to only print the photos you need, and don't want to risk printing out a heap of unnecessary extras.

Then simply pop your photos into the pockets, write your memories and journalling on the Project Life cards and add them into your album and you are well on your way to recording a year of your families memories in a hurry!

So if you have been looking for a space saving way to keep up with your memory keeping, Project Life may be just the thing you are looking for.

Digital Project Life

A couple of years into my Project Life journey, I switched to the digital project life system. I even had the honour of being on the 2015 Becky Higgins Project Life Digital creative team. What an incredible experience!

Digital Project Life is done using a program such as Photoshop Elements and creating and editing digital templates much the way you could create your physical albums. I love this because it means at the end of the year, I can get them printed into a slimline photo book!

And to simplify even more, Project Life has a FREE app you can use on your phone for digital project life. It is a simpler version than the kits you can use on Photoshop, however it means creating albums and layouts on the move. This is perfect for anyone who is super busy or if you don't have the software to work from your computer.

These days I actually do project life from my phone more than anything and save the physical albums for my travel memories instead, since it's nice to include postcards and tickets from your explorations.

You can see how I minimised my scrapbooking habits even more with digital project life. Several of my digital albums can be viewed here.


This post first appeared on Simplify Create Inspire

How To Make Handmade Christmas Cards: DIY Christmas Card Tutorial

 By the time November rolls around, we are already starting to think about Christmas and all the things we need to fit in before the celebrations begin. One thing on that list for many is Christmas cards.

Christmas cards seem to have lost some of their popularity over recent years with many opting for text messages or even digital Christmas cards to save on postage costs and time, however there is something really special about getting a Christmas card in the mail.

And you know what makes a Christmas card even better? When it's handmade! I love making Christmas cards. It is a small token of kindness to remind others you are thinking of them, because life gets so busy. Knowing you will make them smile is a great feeling!

Of course there is also the fact I have an unhealthy collection of scrapbooking papers and embellishments that need to be put to good use!

Let's face it though... making a bucketload of Christmas cards by hand is a time consuming task and a tad overwhelming. Or is it?

It doesn't have to be! And here's how...

handmade christmas cards

SIMPLE & QUICK HANDMADE CHRISTMAS CARDS

What you'll need:

  • 6x6 paper pads or scrapbooking sheets
  • Mixed embellishments (twine, buttons, brads, stickers etc)
  • Scissors
  • Double sided tape or glue dots
  • Blank cards and envelopes
  • Anything else you have on hand
  • Guillotine or ruler
Homemade christmas cards

Card Making Time

It's time to get to business and the best way to get going is to keep it simple! Very simple. And there is absolutely nothing wrong with making them all the same or similar because it means you can work in bulk.

Cut out the background for each card first. This means you can start with all the cutting before you do all the sticking. Think of it as a handmade card production line!

It only takes an extra couple of seconds per card but adding some texture with inked edges on your paper or distressing the edges by roughing them up with scissors can add some extra interest without requiring a lot of time or fancy scrapbooking skills.

Then the final step is to work on adding style and embellishments to finish them off. Keep them relatively flat if you are posting them. Buttons and stickers, twine, chipboard and stamps.

And there you have it... your cards are done in a flash and now all you need to do is get a hand cramp writing out all the messages and envelopes!

You can even do similar with birthday cards or all occasion cards at the start of the year so you are ready to go for all the events and celebrations that are coming up for the year. I always keep a few pre made cards ready for short notice special occasions.

You may also like:

Pregnancy Project Life Album

With my second pregnancy I was pretty sick and completely exhausted to start with, so the project life App was a perfect solution for keeping up with my pregnancy project life memory keeping. My plan is to make a smaller photo book, perhaps 8x8 which can slip into a page protector inside my baby's physical project life album.

I wish I had of known about project life before my first daughter was born so I could have done something similar, however I have included a few pregnancy details and photos in her physical album at least so she too has a bit of the history on when we were expecting her.

My second pregnancy was through summer and spring months, with her born on the 2nd of June. Summer pregnancy is tough going with our climate but it was so nice having baby snuggles into winter.

Pregnancy Project Life Album

pregnancy project life
Pregnancy project life

If you like my pregnancy project life pages, be sure to check out my other full albums on the blog, including of course my baby albums.

28 July 2015

Documenting Pregnancy With Project Life

 With a toddler and a bub on the way, my Project Life has fallen a bit behind in 2014 but I am making great use of the Project Life app to record my pregnancy journey this time.

The app  makes recording those important memories so quick and easy, especially since I've mostly been taking photos with my iPhone this time instead of putting up with the hubby whinging at having to take yet another belly photo for me.

My digital project life pregnancy pages still need a little bit of tweaking and I think I have a few typos... oops. But once I give them the once over and add a border in photoshop, they will be good to go.

Although I am undecided if I will make a mini photo book out of these ones or print them in 12 x 12 and add them to the baby album for baby 2. I didn't have a lot of the pregnancy side of things covered in my first daughter's project life baby album, which you can see in full.

I still need to add in my pregnancy announcement photos too.

Oh and please be kind with the fact that I am showing you my baby belly and swimsuit figure as it gets round haha The horror!

DIGITAL PROJECT LIFE PREGNANCY

IMG_2908.JPG
pregnancy project life

The good news is this pregnancy is finally starting to get easier after a rough first trimester. I am 15 weeks tomorrow and my energy has improved and the nausea is gone. Still a bit of reflux though which is something I never had with Lily. It's horrible. But you will see all of that in my layout journalling no doubt. Lucky I'm a bit of an open book ;)

If you are not sure what project life is, I talk about both general project life and digital project life, so there is a style to suit anyone. Digital project life is more my style these days, as it is so quick and easy, plus the app makes it even easier for creating pages on the go. I have lots of full albums on my blog plus my 2014 album that is in need of some catch up.

Did you record your pregnancies? How?

07 June 2015

9 Tips for Project Life Catch Up

 Project life is memory keeping simplified, but despite this, we can still fall behind and so many of us have been there, done that. Whether it be because life gets in the way or our creative juices stop flowing for a while, whatever the reason, falling behind happens easily and we are left to play project life catch up.

Sadly so many of us get overwhelmed when we fall behind and consider quitting completely. I've seen it happen many times and it's unfortunate to see so many stop their memory keeping, whether it be project life or other forms of scrapbooking and memory keeping. Our memories are precious and need to be preserved.

However even I have been well behind and had to play some serious project life catch up. I only recently finished my 2014 yearly album and still have a little catch up left on my daughter's physical project life baby album, but thankfully I have a finished digital album to speed that process up. Catching up takes time and a lot of effort, but it's definitely worth it so I wanted to share some tips to help others get back on track too.

PROJECT LIFE CATCH UP TIPS

1. Keep Records

Having a method of keeping track of your memories and events is essential to easy project life catch up. Plus it's a great habit to have anyway, whether we get back on track or not, as it's great to reflect back. This is especially helpful if you are a weekly memory keeper like me, having day to day notes on what you did, any special events or even those every day moments worth remembering.

2. Back Up

Let me just say as a follow on tip from the record keeping, make sure you also back everything up. I use the Day One app for my notes each day and one day it deleted my data. So my last couple of months of 2014 project life catch up were done based just on photos and memory, without my notes. Not ideal. A diary can be a good option otherwise.

3. Find Tools To Help

Depending on whether you do your project life digitally or with the traditional card and album method, there are tools that can help us stay on track and catch up. For me, there are lots of phone and ipad apps that make the world of difference, and I recently shared some of my favourite apps for project life.

They help record memories or edit photos. Having your supplies organised and easily accessible can also make a huge difference to physical scrapbooking, such as an Ikea Raskgog cart filled with everything you need that you can just roll out where you need it. These are very popular and I myself have one. Whatever supports your creative needs.

4. Make Time

Set yourself some time each week to do your project life catch up. If you set time, you are more likely to make it happen and actually get it done.

5. Set Goals

Goal setting is a powerful tool. You can use it for your project life catch up such as aiming to have a certain date or event finished within a certain time frame. I found this was useful, especially with a new baby due, by aiming to finish a month each week or whatever your goal may be to get caught up fast.

6. Simplify

Sometimes it's the over thinking or the extra creative stuff that slows us down and causes us to fall behind. If it's that feeling you need to embellish all your journal cards, or have the most perfectly edited photos, maybe it's time to simplify.

It's okay to keep it simple to get those memories recorded. You can always go back and fancy it up later if you choose. For me a way to simplify was of course converting to digital project life, but also to be okay with single pages some weeks, and doubles only if I needed them. Filling one page layout is a lot quicker and easier than feeling obliged to do a double page spread every week.

BONUS TIPS:

7. Work Forwards and Backwards

A method that may help prevent you from falling any further behind is by jumping ahead and doing your current project life layouts for the week or month just gone, but also doing your catch up pages at the same time.

So for every current page you do, you also do a project life catch up page from however far back you may be. This means you won't be feeling like you are on a constant uphill battle.

8. Bulk Print or Edit

Whether you are doing physical project life or digital, photo editing and printing can slow us down so consider doing a bulk lot of editing for your catch up pages, and also printing in bulk so you have plenty to go on with without the stop and start of having to do this page by page. Anything to save time.

9. Have Fun

One of the most important aspects of memory keeping and project life catch up that so many of us lose sight of is the fact that it's meant to be fun. Make sure you are still enjoying it and that you can still embrace those reasons you started project life or scrapbooking in the first place. Without passion, catching up is hard work so get yourself back to that fun place where you started.

Another reason some of us fall behind is when we experience a sad or tragic personal event and find we cannot bring ourselves to record those moments. I know exactly how it feels after my own major loss this year, so I have put together some tips on scrapbooking bad memories as well.

Project life catch up does not have to be stressful, time consuming or dreaded. It can be done relatively quickly usually by using these few simple tweaks to get us back on track. And just think of the fabulous reward you get at the end when you are all caught up - such as that memory filled album to flick through and share with your family. That is the biggest reward of all!

Have you ever fallen behind on project life? What helped you with project life catch up?

01 January 2015

2014 Digital Project Life Album

 I have the wonderful pleasure of being part of the Becky Higgins 2015 Project Life Creative Team. Such an honour. Here you will find my 2014 digital project life layouts and full album along the way. Plus be sure to pop over and check out some of my other complete digital albums and resources, including tips on my creative process, so you get a behind-the-scenes look.

Complete 2014 project life album

Print
Print
week22a
week22b
Blush_4x6Title_Card7

I have used a huge range of kits from Becky Higgins for my 2014 project life album, with the exception of 2 layouts. Templates are a combination of Becky Higgins and Lori Whitlock digital project life templates. If you want to know specifics, let me know though. Hope you have enjoyed viewing my family 2014 project life album and be sure to check out some of my other full albums too.